
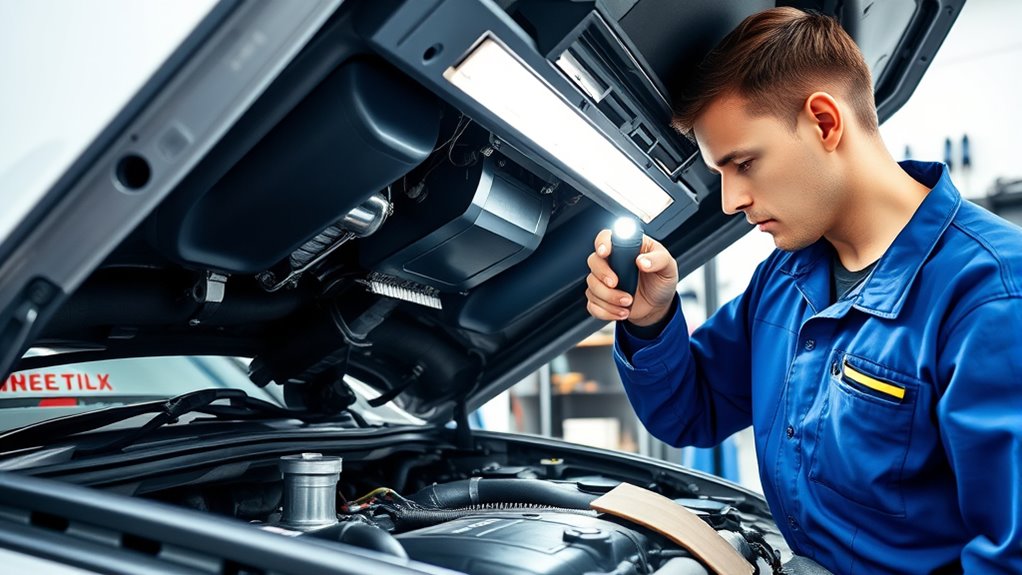
To troubleshoot whether your issues are with the fresh air intake or exhaust system, start by inspecting your vents and filters for obstructions, debris, or damage. Check for unusual odors, poor airflow, or strange noises. Use tools like flashlights and airflow sensors to pinpoint blockages or leaks. Recognizing symptoms specific to each system helps you identify the cause quickly. Keep an eye on signs of leaks, odors, or reduced efficiency—more insights will help you resolve these problems effectively.
Key Takeaways
- Check for airflow issues and odors to distinguish between intake blockages and exhaust leaks.
- Inspect intake vents and filters for debris or damage indicating intake problems.
- Examine exhaust components for leaks, damage, or unusual noises to identify exhaust system failures.
- Use airflow sensors and diagnostic tools to measure system performance and pinpoint malfunction sources.
- Observe symptom patterns like indoor air quality or engine fumes to accurately differentiate intake from exhaust issues.

Leviton Humidity Sensor Switch for Bathroom Exhaust Fan, Automate Ventilation, Air Circulation, Moisture Control, ¼ HP, Single Pole, DHS05-1LW, White
CONVENIENT – automatically turns bath or ventilation fan on/off
As an affiliate, we earn on qualifying purchases.
As an affiliate, we earn on qualifying purchases.
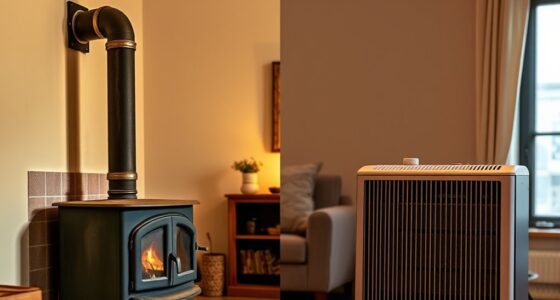
Understanding the Basics of Ventilation Systems

Ventilation systems are essential for maintaining indoor air quality by controlling airflow and removing pollutants. To do this effectively, you need to understand airflow design, which determines how air moves through a space. Proper airflow design ensures fresh air reaches all areas while contaminated air is exhausted. Ventilation standards set the guidelines for system performance, ensuring safety and efficiency. These standards specify minimum airflow rates, filtration requirements, and system placement, helping you avoid issues like poor air circulation or humidity problems. By grasping the basics of how ventilation systems work, you can better identify when components aren’t functioning properly and troubleshoot effectively. Knowing these foundational principles makes it easier to maintain a healthy indoor environment and prevent common ventilation problems. Additionally, understanding airflow design can help optimize system performance and energy efficiency.

Automotive Smoke Machine Leak Detector – 12V DC Vacuum EVAP Smoke Tester Diagnostic Tester with Built-in Air Pump for Vehicle Pipe Systems
Built-in Air Pump: The automotive vacuum smoke tester features an integrated air pump, eliminating the need for an…
As an affiliate, we earn on qualifying purchases.
As an affiliate, we earn on qualifying purchases.
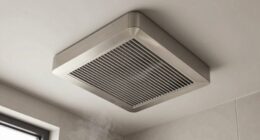
Signs Your Fresh Air Intake Might Be Blocked
If your ventilation system isn’t working properly, you might notice reduced airflow or weaker circulation. Unusual odors or a musty smell can also signal a blocked intake. Additionally, visible debris or obstructions around the intake vent indicate it’s time to inspect for blockages. Ensuring proper airflow can be affected by air quality, which is crucial for maintaining a healthy environment.
Reduced Airflow Efficiency
When your fresh air intake becomes blocked, you may notice a significant decrease in airflow efficiency. This issue hampers airflow optimization and disrupts your ventilation design, making your system work harder. You might experience uneven airflow distribution or reduced overall comfort. To identify if your intake is blocked, look for:
- Weak airflow from vents despite the system running
- Increased energy bills due to strain on the fan or blower
- Unusual system noise or vibrations during operation
- Proper placement of vents and intake openings can prevent many common blockages and ensure consistent airflow
These signs suggest your intake isn’t functioning correctly, affecting ventilation performance. Addressing blockages guarantees proper airflow, preventing system strain and maintaining effective airflow optimization. Regular inspections and cleaning help sustain your ventilation design’s efficiency, keeping your space comfortable and well-ventilated.
Unusual Odors or Mustiness
Blocked fresh air intakes can lead to noticeable odors or a musty smell in your indoor space. When airflow is restricted, stale air gets trapped, causing odors to linger. Check your air filter—if it’s dirty or clogged, it can contribute to these smells and hinder fresh air intake. Additionally, duct insulation that’s damp or damaged can promote mold growth, which produces a musty odor. If you notice a persistent smell despite proper ventilation, it’s a sign your intake might be blocked or compromised. Clearing or replacing the air filter and inspecting duct insulation for moisture or damage can often resolve the issue. Addressing these elements helps restore fresh air flow and eliminates the unpleasant odors, ensuring a healthier indoor environment.
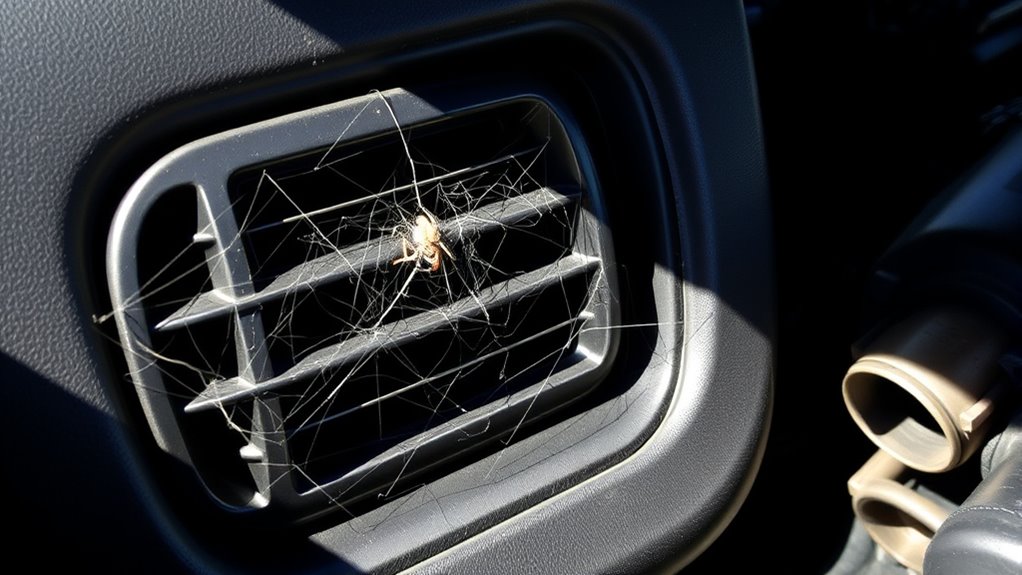
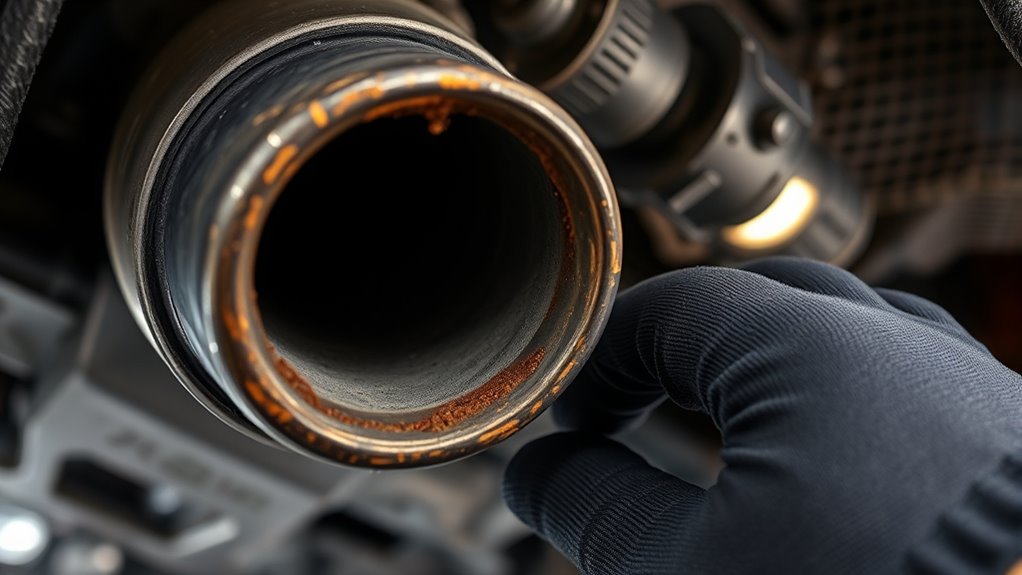
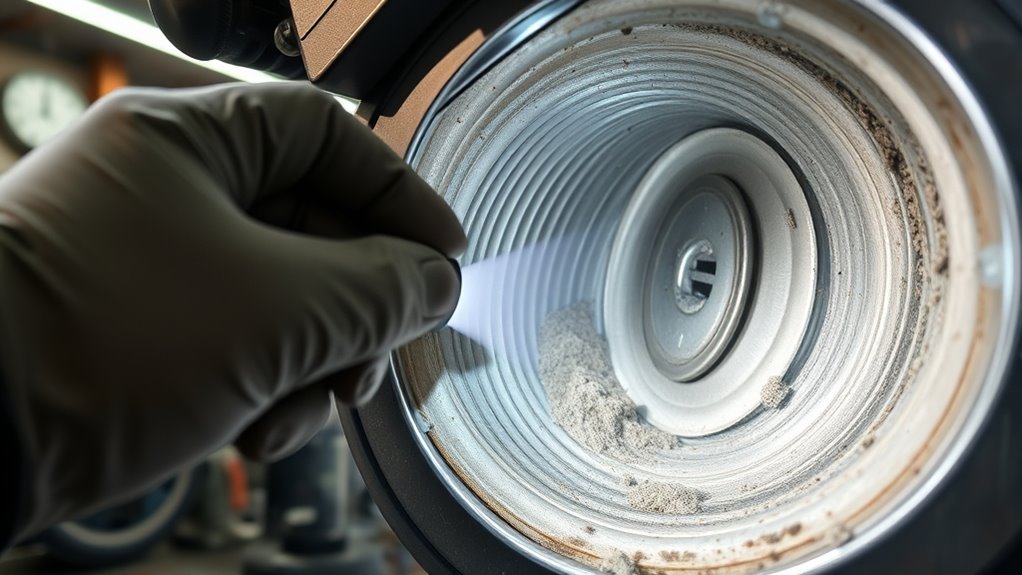
Visible Blockages or Debris
Visible blockages or debris in your fresh air intake are clear signs that airflow may be restricted. When debris buildup occurs, it can clog your air filter or block vents, reducing ventilation efficiency. You might notice leaves, dirt, or other particles obstructing the intake opening, which hampers airflow. Additionally, a buildup of debris can sometimes be linked to underlying issues like boundary issues that influence how systems maintain airflow and prevent blockages. Check for: – Accumulated debris around the air filter or intake grille – Discolored or clogged air filter indicating debris buildup – Obvious obstructions like leaves or dirt lodged inside the intake area These blockages prevent proper airflow, causing your system to work harder and potentially leading to poor indoor air quality. Regular inspection and cleaning of your air filter and intake vents help prevent these issues and ensure your system functions smoothly.

FOXWELL Car Scanner NT604 Elite OBD2 Scanner ABS SRS Transmission, Check Engine Code Reader for Cars and Trucks, Diagnostic Scan Tool with SRS Airbag, Automotive Diagnostic Tool with Live Data
[Easy to Use—Work Out of the Box] + [FOXWELL 2026 New Version] FOXWELL NT604 Elite scan tool is…
As an affiliate, we earn on qualifying purchases.
As an affiliate, we earn on qualifying purchases.
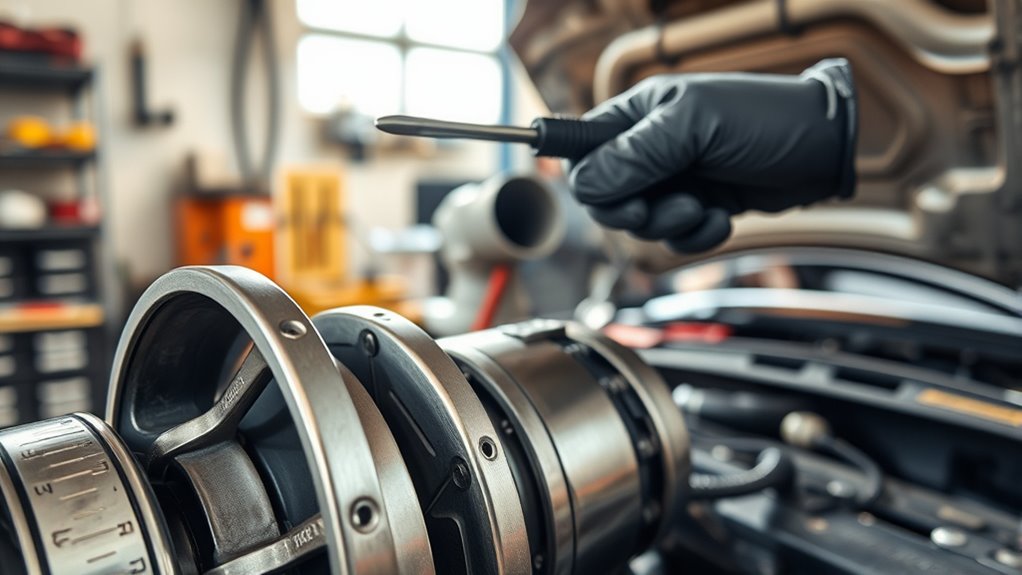
Common Indicators of Exhaust System Issues
You might notice your engine makes strange noises or runs unevenly, signaling possible exhaust problems. Persistent fumes or a strong odor could also mean your exhaust system isn’t functioning properly. Additionally, if your vehicle’s fuel efficiency drops, it’s time to check for exhaust issues. Given the importance of diagnostics and troubleshooting, promptly addressing these signs can prevent further damage and ensure optimal vehicle performance.
Unusual Engine Noise
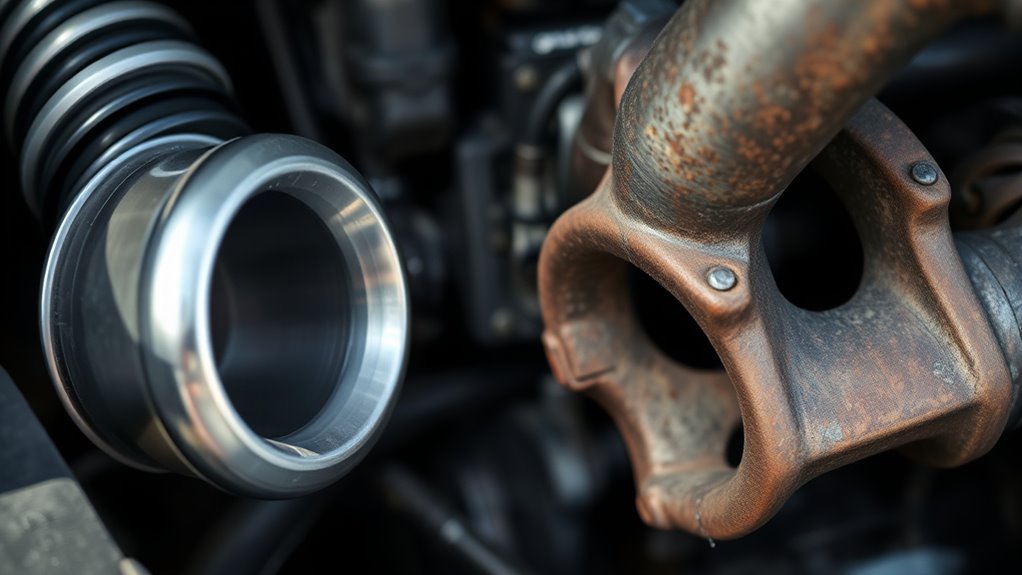
Unusual engine noises often signal exhaust system problems that require immediate attention. You might notice rattling, hissing, or loud roaring sounds, which indicate issues like loose components or leaks. These noises can also be linked to a clogged air filter, forcing your engine to work harder and produce abnormal sounds. Additionally, poor cabin airflow caused by exhaust problems can lead to strange noises inside the vehicle. For example, custom exhaust systems can sometimes develop leaks or become loose over time, contributing to these symptoms. – Rattling or banging sounds from the engine bay – Hissing or high-pitched squeals during acceleration – Unusual roaring that changes with engine speed If you hear these noises, check your air filter and ensure your exhaust system is intact. Ignoring these signs can lead to reduced engine performance and increased emissions, so address the issue promptly.
Persistent Odor Emissions
Persistent odors coming from your vehicle’s exhaust or cabin are strong signs that something’s wrong with the exhaust system. These odors often indicate leaks or blockages that compromise air quality inside your vehicle. Poor ventilation design can trap fumes, making the smell more noticeable. If exhaust gases escape into the cabin, you may notice a strong, fuel-like or rotten egg smell, which can be harmful over time. This situation suggests a leak or damaged component that needs immediate attention. Ignoring persistent odors not only worsens air quality but also poses health risks. Regular inspection of your exhaust system and ensuring proper ventilation design can prevent these issues, helping maintain a safe and comfortable driving environment. Additionally, using proper exhaust system maintenance can help identify and resolve these problems early.
Decreased Fuel Efficiency
Decreased fuel efficiency is often a clear sign that your vehicle’s exhaust system isn’t working properly. When components like the air filter become clogged or the exhaust leaks, your engine has to work harder, wasting fuel. Poor cabin ventilation can also cause you to run the AC or heater more frequently, increasing fuel use. You might notice your trips cost more or your fuel gauge drops faster than usual. Check for signs like reduced airflow from the vents or strange odors, which may indicate exhaust issues. Addressing these problems early can save you money and prevent further damage. Keep an eye on:
- Dirty or clogged air filter
- Exhaust leaks or damaged muffler
- Poor cabin ventilation affecting engine cooling
- Proper maintenance practices can help prevent exhaust system problems and improve overall vehicle efficiency.

6 Inch Fresh Air Intake Inline Filter Box With 3 Layers Pre-filter Activated Carbon and HEPA filter HVAC System Heating And Cooling Ventilation
1. For Hvac System To Box|High-Efficiency Filtration:Equipped with a HEPA filter, this inline filter box traps dust, dirt,…
As an affiliate, we earn on qualifying purchases.
As an affiliate, we earn on qualifying purchases.
Tools and Techniques for Diagnosing Intake Problems
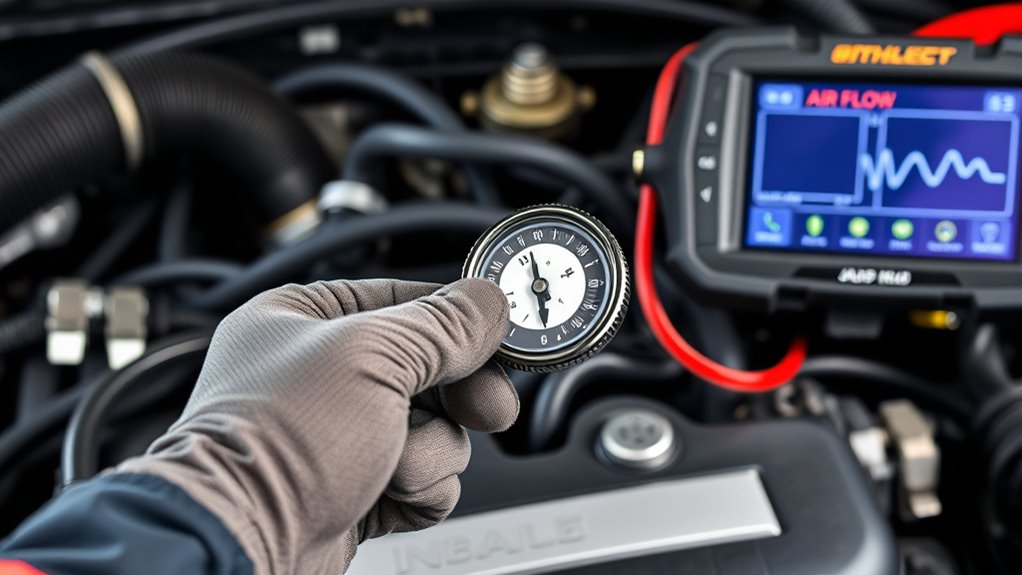
When diagnosing intake problems, using the right tools and techniques can make all the difference. Start with inspecting the ductwork for leaks, blockages, or damage. Use a flashlight and mirror for duct inspection, ensuring smooth airflow paths. Airflow sensors are essential; a faulty sensor can cause incorrect readings, leading to performance issues. To test them, use a multimeter or scan tool to check sensor signals. Proper industry knowledge ensures accurate diagnosis and effective repairs.
| Tool | Technique | Purpose |
|---|---|---|
| Duct inspection tools | Visual inspection for obstructions | Identify blockages or leaks |
| Airflow sensors | Multimeter or scan tool testing | Verify proper sensor operation |
| Flashlight & mirror | Manual inspection | Detect damage or dirt buildup |
These techniques help pinpoint intake issues quickly, saving you time and guesswork.
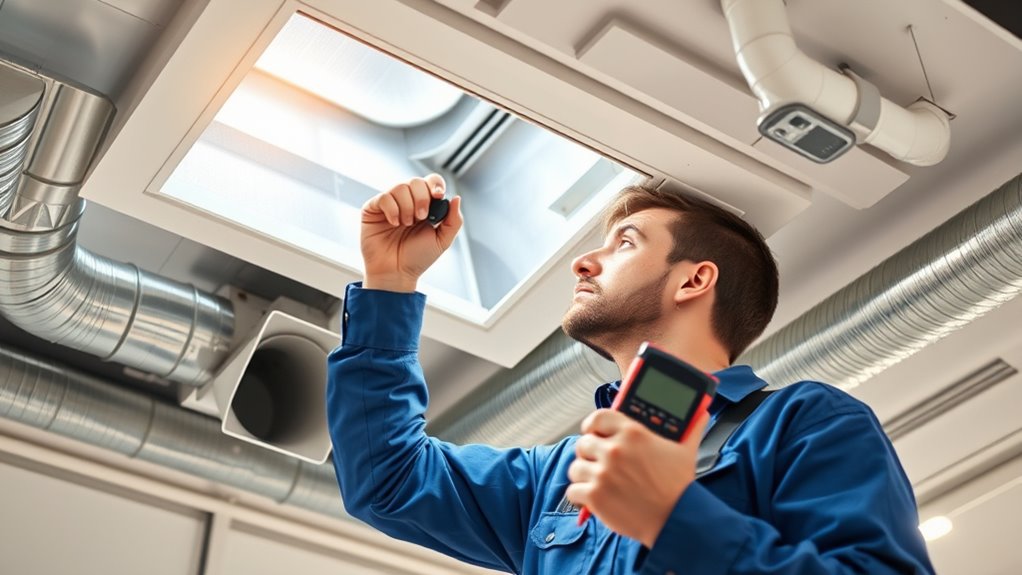
Methods to Detect Exhaust Vent Blockages
Detecting exhaust vent blockages is essential for maintaining proper airflow and preventing system failures. When vents are clogged, airflow sensors may signal reduced exhaust flow, alerting you to a problem. To identify blockages, start by inspecting the vent visually for debris or obstructions. Use duct cleaning tools to clear out any buildup that might restrict airflow. Additionally, monitor airflow sensor readings; low or inconsistent signals often indicate a blockage. You can also perform a simple airflow test: if exhaust gases linger or the vent feels unusually hot, it’s likely obstructed. Regular maintenance and inspection help prevent blockages before they cause damage, ensuring ideal ventilation and system efficiency. Staying vigilant with these methods keeps your exhaust system running smoothly. Incorporating proper maintenance techniques can further enhance system longevity and safety.
Differentiating Between Intake and Exhaust Failures
Differentiating between intake and exhaust failures is essential for effective troubleshooting because each issue presents distinct symptoms and requires different solutions. If fresh air intake is blocked or poorly maintained, you might notice reduced airflow, decreased ventilation, or stuffy indoor air. Poor air filter maintenance can cause these symptoms, making it harder for fresh air to enter. Conversely, exhaust failures often lead to lingering odors, increased indoor humidity, or exhaust gases backing up into the space. Inspect duct insulation to verify it’s intact; damaged or poorly insulated ducts can hinder exhaust flow. Recognizing these signs helps you identify whether the problem lies with intake or exhaust, guiding targeted repairs that restore proper airflow and improve indoor air quality efficiently.
Step-by-Step Troubleshooting Procedures
To effectively troubleshoot airflow issues in your ventilation system, start with a systematic approach that pinpoints the root cause. First, check for obvious obstructions or dirt in vents and filters, which can hinder indoor circulation and compromise air quality. Next, verify that intake vents and exhaust outlets are clear and functioning properly. Finally, assess whether fans are operating at the correct speeds and if dampers are open or closed as they should be.
Start troubleshooting airflow by checking vents, filters, fans, and damper positions to identify the root cause quickly.
- Inspect vents and filters for dirt or obstructions
- Confirm fans are working and dampers are correctly positioned
- Test airflow at different points to identify weak spots
Following these steps helps you identify whether the problem stems from intake, exhaust, or airflow distribution, ensuring better control over indoor air quality.
Preventative Maintenance for Optimal Airflow

Regular preventative maintenance is essential to keep your ventilation system operating at peak efficiency. Start by inspecting and replacing your air filter regularly—clogged filters restrict airflow and strain the system. A clean filter ensures proper intake and exhaust function, reducing energy costs and prolonging equipment life. Additionally, perform fan maintenance by checking for dust buildup, loose belts, or worn bearings. Lubricate moving parts if necessary and listen for unusual noises indicating issues. Clear any debris around vents and exhaust outlets to prevent blockages that impair airflow. Consistent upkeep keeps air moving freely, preventing problems before they start. By staying proactive with these simple steps, you’ll maintain ideal airflow and ensure your ventilation system functions reliably for years to come.
When to Call a Professional Technician

Knowing when to call a professional technician can save you time, money, and frustration. If you notice persistent issues with air quality or suspect ventilation design flaws, it’s time to seek expert help. A professional can accurately diagnose complex problems that simple troubleshooting can’t resolve. You should call a technician if:
- Air circulation remains poor despite cleaning and maintenance efforts
- You notice strange odors, excess humidity, or mold growth
- Ventilation issues persist after troubleshooting attempts, risking indoor air quality and health
Professional technicians have the tools and expertise to evaluate your ventilation system, identify underlying issues, and ensure proper airflow. Addressing these problems promptly helps maintain a healthy indoor environment and prevents costly repairs down the line.
Tips for Ensuring Long-Term Ventilation Efficiency
Maintaining long-term ventilation efficiency requires consistent attention and proactive habits. Regularly check and replace your air filter to ensure unobstructed airflow and ideal filtration. A clean filter prevents strain on the system and keeps indoor air fresh. Adjust your fan speed appropriately; running the fan at the right speed balances airflow and energy use. If your system offers variable speed settings, optimize them based on outdoor conditions and indoor needs. Keep vents and ducts clear of dust and debris to prevent blockages that hinder airflow. Schedule periodic professional inspections to catch potential issues early. These simple steps help sustain effective ventilation, reduce system wear, and improve indoor air quality over time. Consistency is key to long-term efficiency and comfort.
Frequently Asked Questions
How Do Environmental Factors Affect Ventilation System Performance?
Environmental factors considerably influence your ventilation system’s performance. Poor outdoor air quality introduces pollutants that hinder pollutant control and reduce air quality indoors. High humidity can cause mold and corrosion, while extreme temperatures strain your system’s efficiency. Wind and nearby obstacles can disrupt airflow, decreasing ventilation effectiveness. You need to take into account these factors to guarantee your system functions at its best, maintaining healthy air and controlling pollutants effectively.
Can DIY Fixes Permanently Resolve Ventilation Issues?
Like mending a cracked mirror, DIY fixes can temporarily clear your reflection but may not resolve the underlying cracks. While they might address some ventilation problems, they won’t provide a permanent solution. For lasting results, you need to identify the root cause and possibly consult a professional. Relying solely on DIY fixes risks recurring issues, so consider them as short-term fixes rather than permanent solutions for your ventilation system.
What Are the Safety Precautions During Ventilation Troubleshooting?
During ventilation troubleshooting, you should prioritize safety protocols to protect your air quality and well-being. Always turn off power before inspecting or repairing ventilation systems to avoid electrical hazards. Wear appropriate protective gear like gloves and masks, especially if dealing with dust or mold. Confirm proper ventilation to prevent buildup of fumes. Keep the workspace clear of obstructions, and work in well-lit conditions to avoid accidents. Following these precautions helps maintain safety and good air quality.
How Often Should Ventilation Systems Be Inspected and Maintained?
You should inspect and maintain your ventilation system at least twice a year. Regular filter replacement and duct cleaning help prevent dust buildup and improve air quality. Interestingly, poorly maintained systems can lose up to 20% efficiency, increasing energy costs. By scheduling inspections every six months, you ensure filters stay clean and ducts are clear, maintaining ideal airflow and indoor air quality. Don’t wait—consistent upkeep keeps your system running smoothly.
Are There Eco-Friendly Solutions for Improving Airflow Efficiency?
Yes, eco-friendly solutions like high-efficiency air filters can markedly improve airflow and air quality without harming the environment. Regularly upgrading to filters made from sustainable materials helps trap pollutants more effectively, reducing energy use. Additionally, incorporating natural ventilation strategies, such as exhaust fans or fresh air intakes, enhances airflow efficiency. These methods keep your indoor air quality high while minimizing environmental impact, making your system both eco-conscious and effective.
Conclusion
Understanding your ventilation system means more than just fixing problems; it’s about ensuring fresh air flows freely while exhausts do their job. When you troubleshoot correctly, you prevent costly repairs and breathe easier. But neglecting these steps can turn simple blockages into long-term issues, trapping you in stale air. Remember, good ventilation isn’t just about avoiding problems — it’s about creating a healthier, more comfortable space for the long run.