Transforming your garden shed into a sauna involves proper insulation, ventilation, and sealing. Use moisture-resistant insulation like rigid foam board or mineral wool inside walls and ceiling to retain heat and prevent drafts. Install intake vents near the floor, exhaust vents close to the ceiling, and an adjustable ceiling vent to regulate airflow and humidity. Sealing all gaps improves efficiency and safety. If you continue exploring, you’ll find detailed tips to create a cozy, efficient sauna space.
Key Takeaways
- Insulate the shed walls and ceiling with moisture-resistant rigid foam or mineral wool for thermal efficiency.
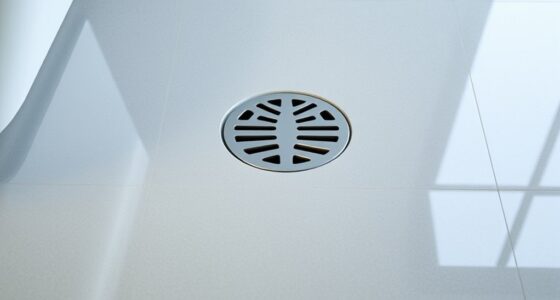
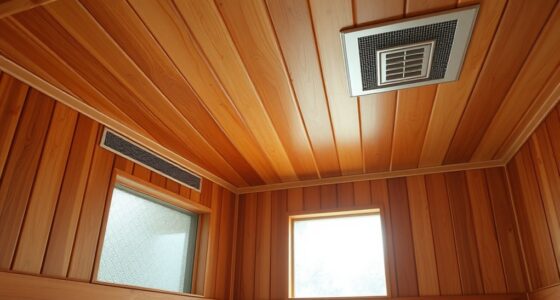
- Install proper ventilation with intake vents near the floor, exhaust vents near the ceiling, and an adjustable ceiling vent.
- Seal all gaps, joints, and penetrations to prevent heat loss and improve energy efficiency.
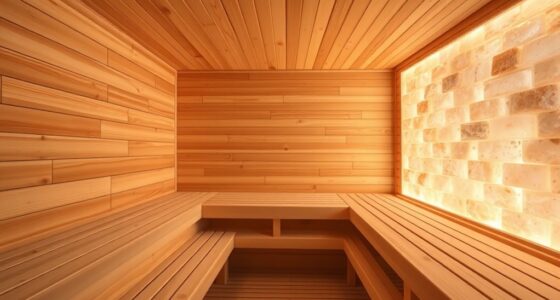
- Choose heat-resistant interior paneling, such as cedar or special sauna wood, to withstand high temperatures.
- Incorporate a safe heating system and moisture-rated ventilation fan to maintain optimal sauna conditions.
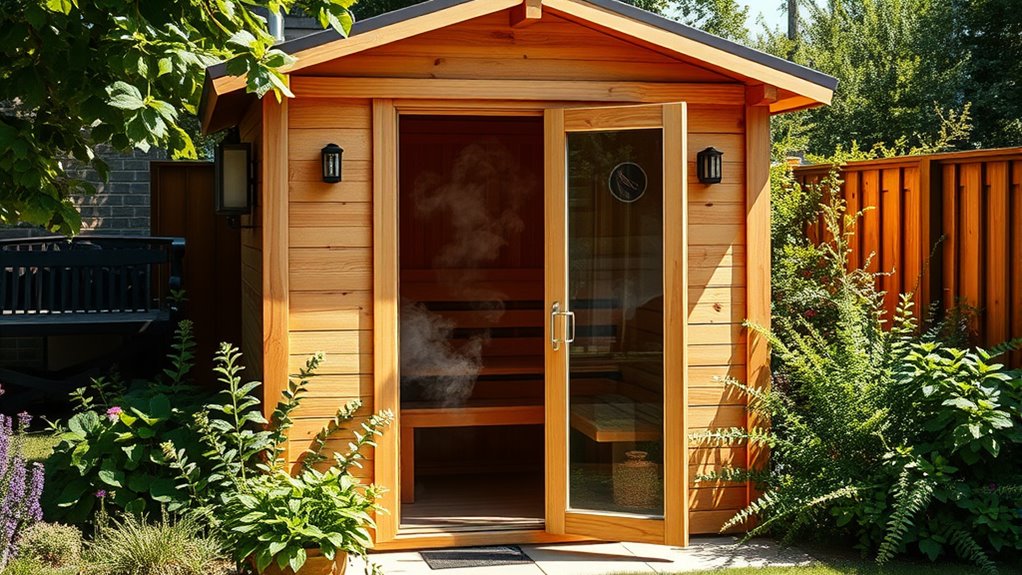
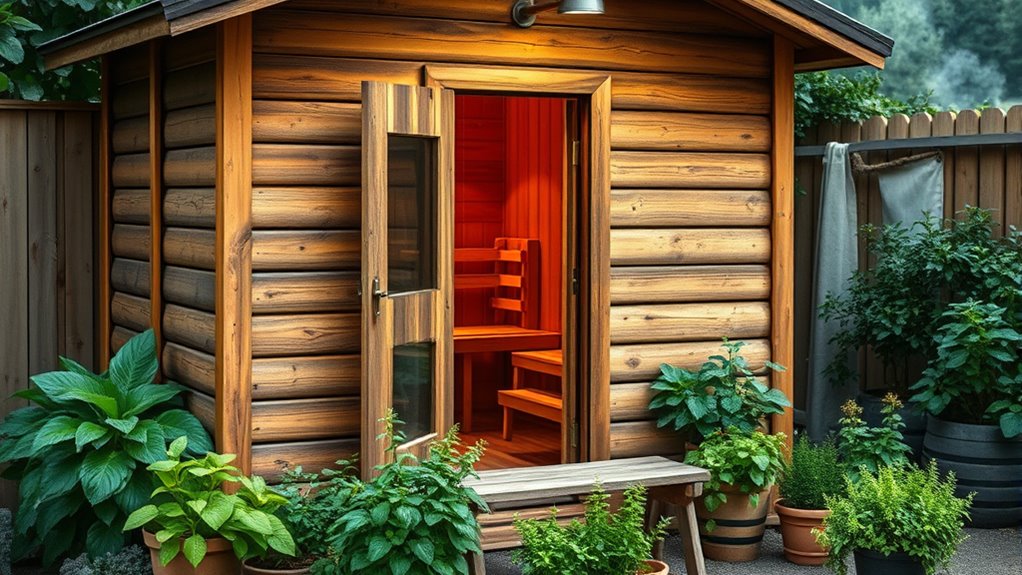
Transforming a garden shed into a sauna is a practical way to enjoy relaxing heat right in your backyard. The first step involves ensuring your shed is properly insulated and ventilated to create a safe and comfortable environment. When it comes to insulation options, you want to contemplate materials that can withstand high temperatures while providing effective thermal barriers. Rigid foam board insulation is a popular choice because it’s easy to install, offers high R-value, and resists moisture. Mineral wool or rock wool insulation is another excellent option, especially for soundproofing and fire resistance, giving your sauna an added layer of safety. You’ll want to line the interior walls and ceiling with these materials, making sure to seal all seams and edges to prevent heat loss and drafts. Additionally, selecting insulation with a wide temperature range ensures longevity and safety under high heat conditions.
Ventilation techniques are equally critical, as they regulate airflow, control humidity, and prevent moisture buildup that could lead to mold or structural damage. You should install intake vents near the floor and exhaust vents near the ceiling, creating a natural airflow pattern that keeps the air fresh and dry. An adjustable vent on the ceiling allows you to control the heat and humidity levels, giving you more command over your sauna experience. Incorporating a small exhaust fan designed for humid environments can also help remove excess moisture and improve air quality when the sauna is in use. Proper ventilation isn’t just about comfort; it’s essential for safety, preventing the buildup of harmful gases and ensuring your sauna remains a healthy space.
Once you’ve chosen your insulation materials and set up your ventilation system, focus on sealing all gaps and joints to maximize energy efficiency. Use weatherproof sealant or foam tape around windows, doors, and any penetrations in the walls. This step prevents heat from escaping and keeps cold air out, making your sauna energy-efficient and cost-effective to run. Remember, insulation and ventilation are ongoing considerations; regularly check for drafts, moisture issues, or insulation degradation over time, and address them promptly.

ZXQDRE Sauna Foil Vapor Barrier, 250 sqft Aluminum Insulation Roll Heavy-Duty Non-Perforated Reflective Thermal Barrier for Energy Efficient Sauna, Attic, Garage and Crawl Space (4FT x 62.5FT)
Ultimate Sauna Performance: Our premium radiant barrier foil reflects up to 96% of radiant heat, ensuring your sauna…
As an affiliate, we earn on qualifying purchases.
As an affiliate, we earn on qualifying purchases.
Frequently Asked Questions
How Much Does Converting a Shed Into a Sauna Typically Cost?
Converting a shed into a sauna typically costs between $3,000 and $8,000, depending on size, materials, and features. To get an accurate estimate, you should do some cost estimation and budget planning upfront. Factor in insulation, wiring, heating, and interior finishing. Planning your budget carefully assists you in avoiding surprises and ensures you have enough funds to complete the project comfortably.
What Permits or Regulations Are Needed for This Conversion?
You’ll need to verify local building codes and zoning permits before converting your shed into a sauna. These regulations ensure your project complies with safety and structural standards. Visit your city or county’s building department online or in person to find specific requirements. You might need a permit for electrical work, plumbing, or structural modifications. Getting these approvals beforehand helps prevent costly fines or project delays later on.
How Long Does the Entire Conversion Process Usually Take?
You can complete the shed-to-sauna conversion in about 2 to 4 weeks, depending on your experience and project scope. While it might seem lengthy, proper shed insulation and sauna venting are vital for safety and efficiency. Rushing can compromise quality, so allocate enough time for planning, installing ventilation, and finishing touches. This guarantees a durable, enjoyable sauna that’s worth the wait.
What Safety Features Should Be Included in the Sauna?
You should include vital safety features like proper sauna ventilation to guarantee fresh air circulation and prevent overheating. Waterproof wiring is vital to avoid electrical hazards in a humid environment. Install a reliable temperature control system and safety switches to cut power if needed. Additionally, use non-slip flooring and avoid sharp edges. These features help safeguard your sauna experience, making it both safe and enjoyable.
Can I Install a Portable Sauna Heater Instead of a Built-In One?
Yes, you can install a portable sauna heater instead of a built-in one. Portable heaters offer flexible installation options and are easier to set up, making them ideal for DIY projects. Just make certain the heater is suitable for the size of your shed, follow safety guidelines, and place it on a heat-resistant surface. This way, you get a functional sauna without complicated installation processes.

UCreate Foam Board, White, 22" x 28", 5 Sheets
White Foam Board, Lightweight But Strong And Rigid Surface
As an affiliate, we earn on qualifying purchases.
As an affiliate, we earn on qualifying purchases.
Conclusion
Now that you’ve laid the foundation for your DIY sauna, the real transformation begins. Imagine stepping into your cozy, heated retreat—your garden shed reborn as a relaxing haven. But wait, there’s one essential step left that could make all the difference. Are you ready to unleash the full potential of your new sauna? Keep going—you’re closer than you think to creating something truly extraordinary. The best part is still ahead.
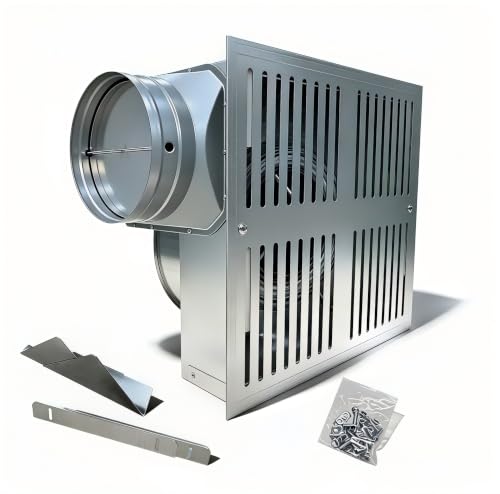
Hakazeni 200-230CFM Powerful bathroom exhaust fan, silent ceiling ventilation fan, easy to install, suitable for shower,Rooms Up to 200 Sq. Ft. sauna, laundry room
POWERFUL AND EFFICIENT VENTILATION – This exhaust fan features a high-performance motor to quickly remove moisture, steam and…
As an affiliate, we earn on qualifying purchases.
As an affiliate, we earn on qualifying purchases.
bingaai Cedar Tongue and Groove Wall Panels – ½" Thick (12mm) Western Red Cedar Wood Planks for Walls, Sauna, Accent Wall & DIY Projects | 3 ft Long | Covers 9.7 sq ft
½" SOLID CEDAR — 50% THICKER THAN STANDARD WALL PLANKS: At 12mm (nearly ½ inch), these panels are…
As an affiliate, we earn on qualifying purchases.
As an affiliate, we earn on qualifying purchases.