
To save hours assembling your barrel sauna, gather all tools and materials beforehand, following a clear step-by-step plan. Assemble the frame carefully, ensuring proper alignment with a level, and secure exterior walls tightly with sealant to prevent leaks. Install insulation and vapor barriers properly, then focus on wiring with safety in mind. Double-check all components during final assembly and testing. If you keep these tips in mind, you’ll streamline the process and build faster; more expert strategies await you.
Key Takeaways
- Pre-assemble and organize all panels, hardware, and tools to streamline the assembly process.
- Follow manufacturer instructions carefully to avoid rework and ensure quick, correct fitting of components.
- Use temporary braces and level tools during wall and panel installation to speed up alignment.
- Prepare and apply vapor barriers and sealants efficiently, sealing all joints in one go to prevent leaks.
- Test electrical connections and heating system early to identify issues promptly and avoid delays.

LTCCDSS Hemlock Sauna Backrest | S-Shape Design – Slip-Resistant, Non-Toxic Comfortable, Sauna Accessories Kit Apply to Barrel or Infrared Sauna Hemlock Wooden (25.98 in * 16.54in)
【High Temp Resistance】: Sauna Backrest made from Quebec Hemlock,Canada – made from natural, non-toxic, Canadian hemlock (the traditional…
As an affiliate, we earn on qualifying purchases.
As an affiliate, we earn on qualifying purchases.
Gather Tools and Materials for Your Barrel Sauna
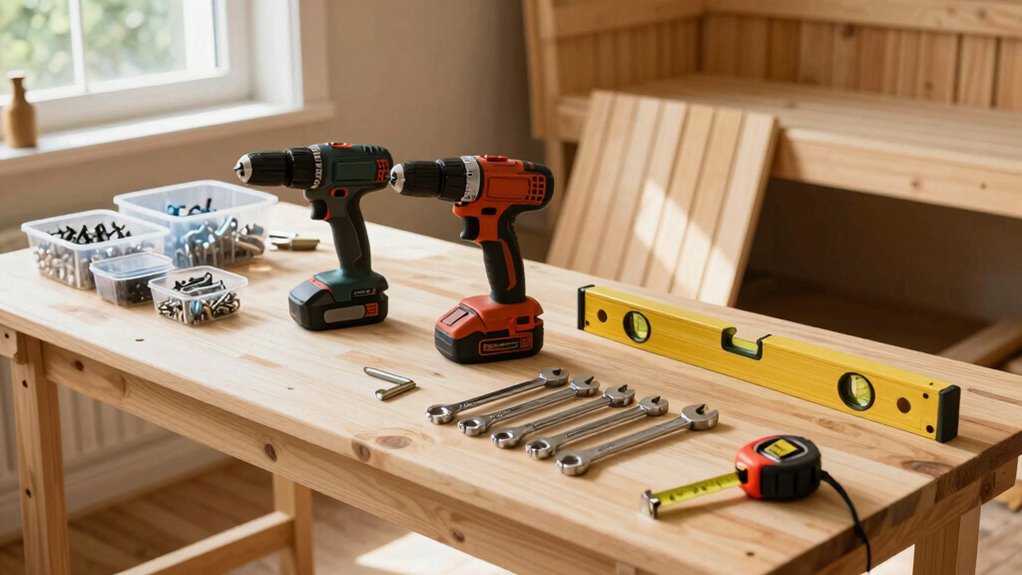
Before beginning your barrel sauna assembly, acquiring all the necessary tools and materials is essential. You’ll need basic hand tools like screwdrivers, a drill, and a level, along with safety gear. Make sure you have high-quality wood for construction, and don’t forget wood treatment products to protect against moisture and pests. Proper wood treatment enhances durability, especially in humid environments, and good ventilation is crucial for maintaining a healthy sauna. Additionally, using natural wood finishes can further prolong the life of your sauna. Creating a luxurious sauna experience involves thoughtful design and quality materials, so pay close attention to ventilation design; good airflow prevents mold and guarantees a comfortable sauna experience. Additionally, incorporating airless paint spraying can help apply protective finishes evenly and efficiently. Gather materials for insulation, sealing, and fasteners to hold everything securely. Additionally, consider incorporating eco-friendly natural pools into your backyard design to create a serene atmosphere. Double-check your list before starting, so you avoid delays. Having everything on hand streamlines the process and keeps your project on schedule, allowing you to focus on assembling your barrel sauna with confidence.

ZXQDRE Sauna Foil Vapor Barrier, 500 sqft Aluminum Insulation Roll Heavy-Duty Non-Perforated Reflective Thermal Barrier for Energy Efficient Sauna, Attic, Garage and Crawl Space (4FT x 125FT)
Ultimate Sauna Performance: Our premium radiant barrier foil reflects up to 96% of radiant heat, ensuring your sauna…
As an affiliate, we earn on qualifying purchases.
As an affiliate, we earn on qualifying purchases.
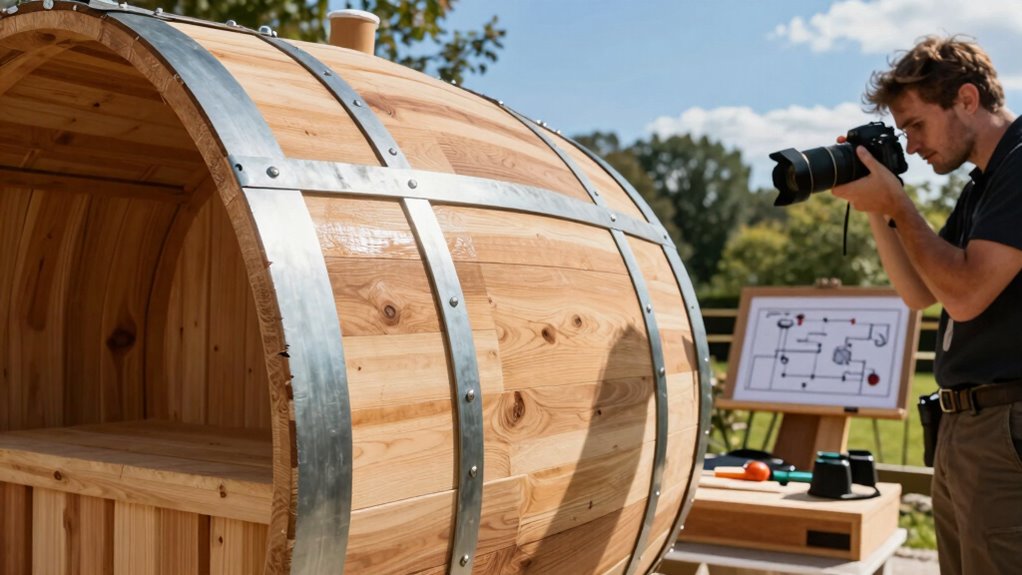
Learn the Key Parts of a Barrel Sauna
Learn the Key Parts of a Barrel Sauna
Understanding the key parts of a barrel sauna is essential for a smooth assembly process. First, the sauna heating system is the core, providing consistent warmth and comfort. Additionally, a well-designed heating system can significantly enhance energy efficiency, similar to how robot mowers optimize battery life in smart yard care. Second, the wood treatment ensures durability and protects against moisture, critical for the sauna’s longevity; choosing sustainably sourced wood can also minimize environmental impact. Furthermore, the rise of crypto liquidity has shown how essential it is to invest wisely in durable materials that enhance long-term value. Third, the curved wooden panels form the iconic barrel shape, making insulation and heat retention more efficient. Fourth, the door and window frames allow entry and natural light while sealing tightly to maintain temperature. Recognizing these components helps you assemble correctly and guarantees proper sauna function. Knowing how each part interacts, especially the heating and wood treatment, guarantees your sauna stays warm, safe, and long-lasting. Additionally, early socialization and training of your sauna can enhance its usability and comfort for all users. Focus on these key parts for a seamless setup. Additionally, understanding tax planning strategies can provide financial benefits that allow you to invest in quality sauna materials.
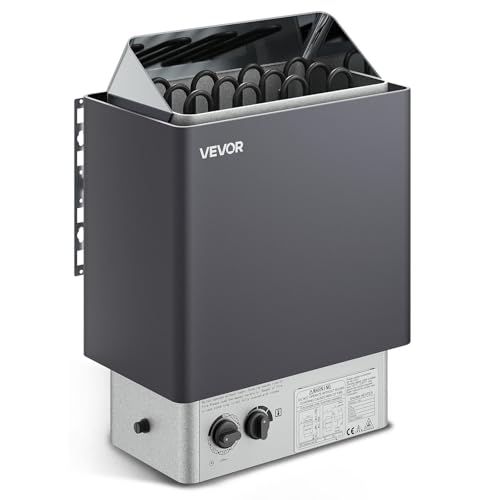
VEVOR Sauna Heater,220V Electric Sauna Stove, Steam Bath Sauna Heate 3h Timer and Adjustable Temp for Max. 176-318 Cubic Feet, Home Hotel Spa Shower Use (6KW) FCC Certification
Fast Heating: This heater is 220-240V AC, a special voltage. The site conditions need to be evaluated before…
As an affiliate, we earn on qualifying purchases.
As an affiliate, we earn on qualifying purchases.
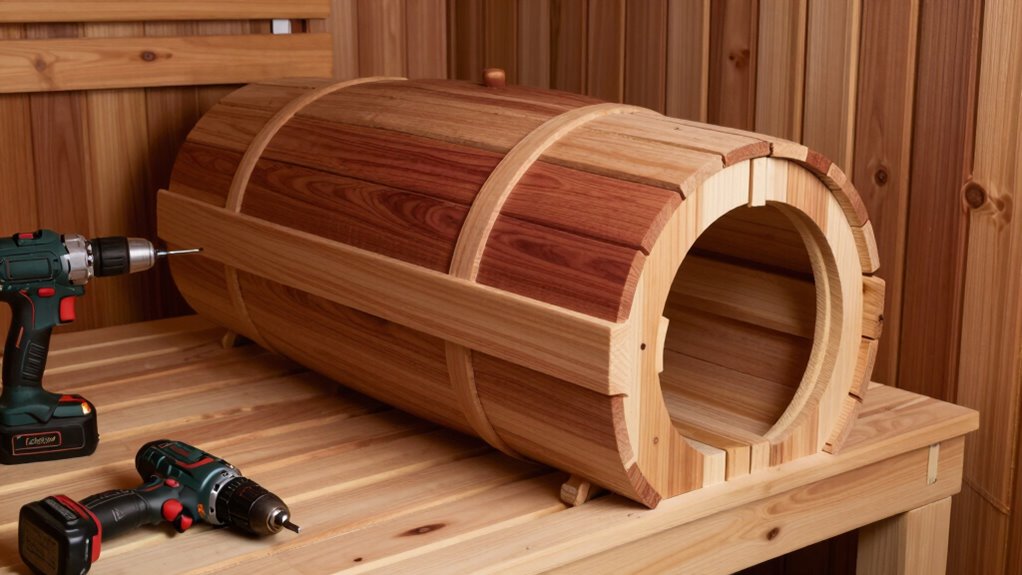
Assemble the Sauna Frame Step-by-Step
Sure! Here’s your revised content with the requested changes:
—
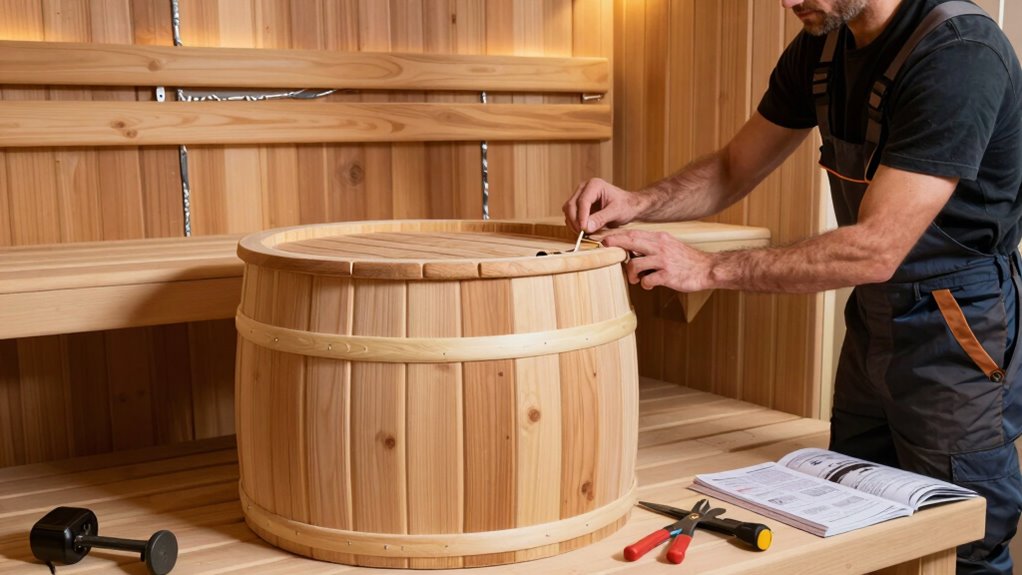
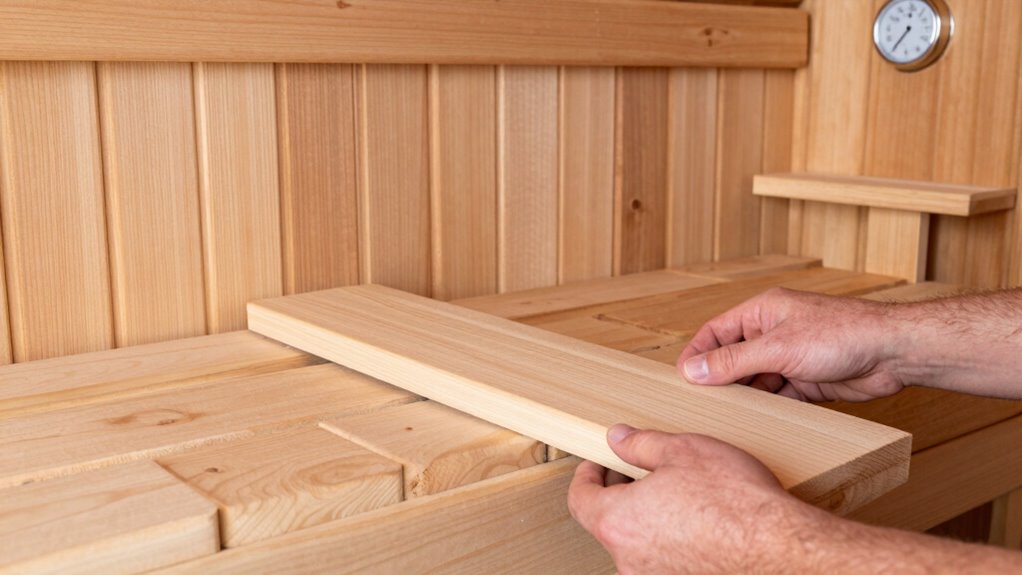
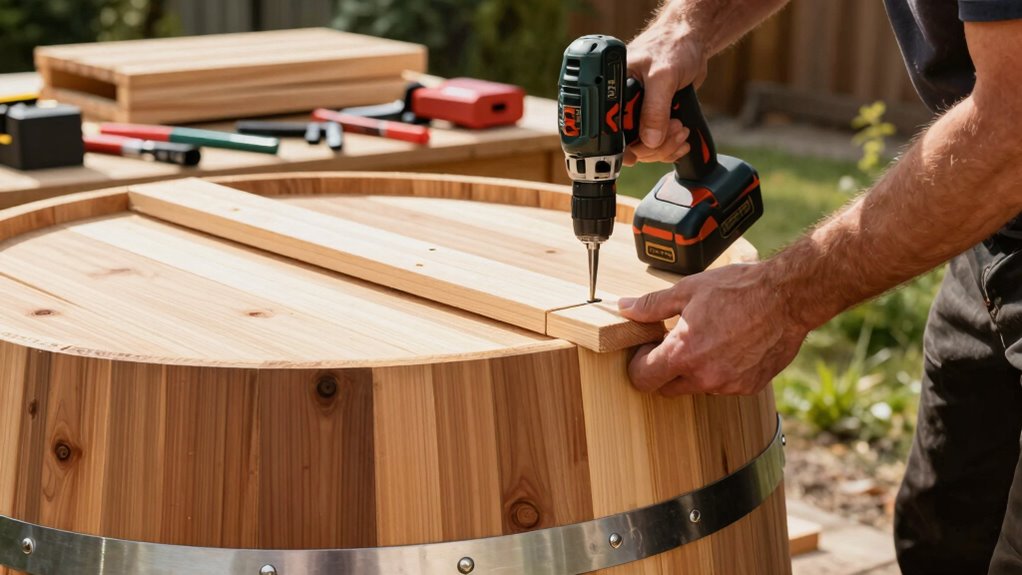
To begin assembling the sauna frame, lay out all the curved wooden panels and guarantee you have all the necessary tools and hardware nearby. Carefully align the panels, ensuring they fit snugly to maintain the structure’s integrity. Use a level to keep everything straight, which simplifies future sauna maintenance. Following a product roundup can help you choose the best tools for the assembly process. Electric dirt bikes, for instance, showcase power output comparable to traditional gas-powered bikes, emphasizing the importance of choosing high-quality materials. Additionally, using cabling solutions during installation can help streamline future electrical needs within the sauna. A well-crafted frame enhances the overall experience, similar to how best anime films enrich storytelling through meticulous detail. Follow the manufacturer’s instructions for fastening the panels securely, typically with screws or bolts. As you assemble, consider the cultural traditions associated with sauna building, respecting craftsmanship and materials. Properly constructing the frame now prevents issues later that could compromise safety or comfort. Take your time, double-check connections, and stay organized. A solid, well-assembled frame ensures your sauna remains durable, functional, and true to cultural heritage. Incorporating a smart thermostat can enhance your sauna experience by maintaining optimal temperatures and air quality.
—
Let me know if you need any further modifications!
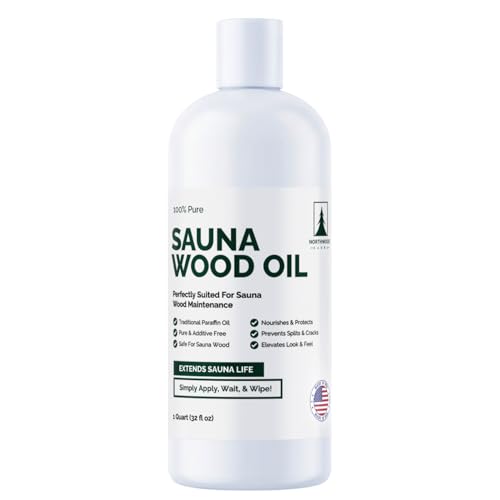
Northwood Sauna – Sauna Wood Oil – 100% Pure Paraffin Oil – Traditional Sauna Sealer – 1 Quart (32 Fl Oz)
The Perfect Sauna Wood Oil: Our traditional paraffin oil is perfectly suited for sauna wood maintenance. It penetrates…
As an affiliate, we earn on qualifying purchases.
As an affiliate, we earn on qualifying purchases.
Install Insulation and Vapor Barrier Properly
To guarantee your sauna stays warm and energy-efficient, you need to install insulation and the vapor barrier correctly. Choose high-quality insulation materials, seal the vapor barrier tightly, and layer the insulation properly to prevent heat loss and moisture issues. Doing this carefully will make your sauna more comfortable and durable. Additionally, understanding insulation techniques can further enhance your sauna’s performance and longevity. Proper insulation not only retains heat but also contributes to energy efficiency in your home, making it a worthwhile investment. Implementing smart strategies for personal finance can help you budget for these improvements effectively. Investing in car protection accessories can also help maintain your sauna’s exterior, ensuring it lasts longer and stays in optimal condition. Moreover, improving indoor air quality can enhance your sauna experience by ensuring a healthier environment.
Choose Quality Insulation Materials
Choosing high-quality insulation materials is essential for ensuring your sauna stays warm and energy-efficient. The right insulation types can *substantially* boost thermal efficiency, saving you money and effort. When selecting materials, picture these options:
- Rigid foam boards, fitting snugly between sauna walls for maximum heat retention.
- Mineral wool, offering excellent fire resistance and soundproofing.
- Reflective foil insulation, bouncing heat back into the interior.
- Fiberglass batts, easy to install and cost-effective for broad coverage.
Ensure each material is properly installed with no gaps, as even small spaces reduce thermal efficiency. High-quality insulation not only keeps your sauna warm longer but also minimizes energy loss, making your assembly quicker and more effective. Additionally, astrological compatibility may enhance interpersonal attraction, encouraging a more enjoyable sauna experience with friends and family. Effective insulation is key to energy efficiency, ensuring your sauna operates optimally while reducing costs. By using advanced insulation techniques, you can further improve the overall performance of your sauna. Consider incorporating thermal barrier techniques to enhance the insulation’s effectiveness and longevity. Moreover, understanding AI advancements can provide insights into innovative materials that may further optimize energy efficiency in home construction.
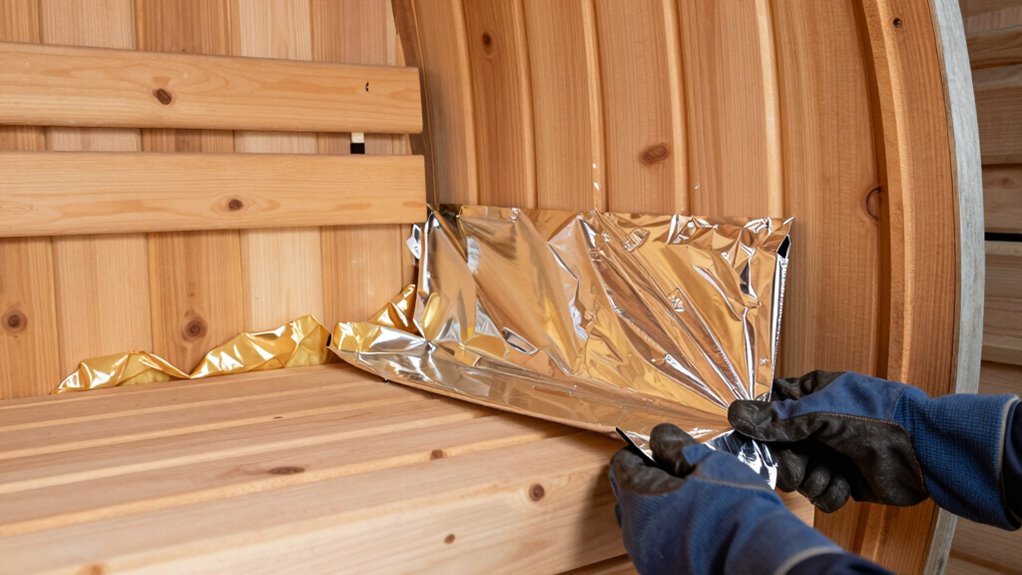
Seal Vapor Barrier Tightly
Ensuring the vapor barrier is sealed tightly is essential for preventing moisture from seeping into insulation and framing, which can cause mold and damage over time. To achieve this, carefully apply a high-quality sealant around all edges and seams of the vapor barrier. Use a proper sealant application method, ensuring no gaps or overlaps are left unsealed. Pay special attention to corners, joints, and where the vapor barrier meets windows or doors. Smooth out the sealant for a consistent, airtight seal that prevents moisture infiltration. Double-check all seams after application, pressing the vapor barrier firmly into place before sealing. A well-sealed vapor barrier keeps your insulation dry, prolonging the sauna’s durability and maintaining a safe, moisture-free environment inside.
Properly Layer Insulation
Properly layering insulation is essential for maximizing the sauna’s energy efficiency and comfort. Start by selecting the right insulation types, like mineral wool or foam boards, based on your needs. Make certain you choose the appropriate insulation thickness to prevent heat loss. To install effectively:
- Place the vapor barrier tightly against the sauna’s interior wall to prevent moisture buildup.
- Add the insulation, making sure it fits snugly without gaps or compression.
- Overlap the vapor barrier seams, sealing them with foil tape for added protection.
- Cover the insulation with the interior paneling, avoiding compression that reduces insulation effectiveness.
This careful layering maintains heat, prevents drafts, and protects against moisture damage, ensuring your sauna stays warm and energy-efficient.
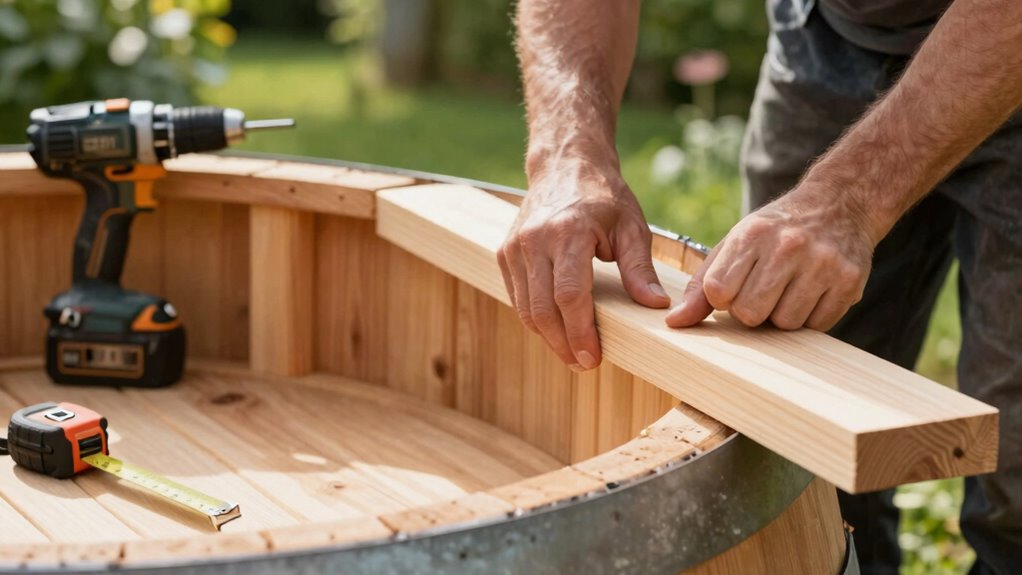
Attach the Exterior Walls for a Tight Seal
To guarantee a tight seal, you need to align the exterior walls carefully before fastening. Use sealant effectively along the edges to prevent drafts and moisture leaks. Properly sealing and aligning the walls now will save you time and effort later.
Ensure Proper Wall Alignment
Aligning the exterior walls accurately is essential for a tight seal and overall stability of your barrel sauna. Proper alignment ensures wall stability and maintains framing precision. To achieve this, follow these steps:
- Position each wall panel carefully, checking for square and level as you place them.
- Use a carpenter’s level along the top and sides to verify straightness.
- Adjust panels as needed before securing to prevent gaps.
- Secure temporary braces to hold walls in perfect alignment during assembly.
This process helps prevent warping or misalignment, making your sauna more durable. Accurate wall placement reduces the risk of air leaks and enhances insulation. Take your time to double-check each step for a seamless, sturdy structure.
Use Sealant Effectively
Applying sealant effectively is essential to guaranteeing your sauna remains airtight and well-insulated. Proper sealant application prevents drafts and water intrusion, boosting durability. Use waterproofing techniques like applying a continuous bead along seams and joints. Make certain the exterior walls fit tightly before sealing, and smooth out the sealant for an even finish. Avoid gaps or air pockets that can compromise insulation. Here’s a quick guide:
| Step | Action | Tips |
|---|---|---|
| 1 | Clean surfaces | Remove dust and debris |
| 2 | Apply sealant | Use steady, even pressure |
| 3 | Smooth sealant | Use a caulk tool or finger |
| 4 | Check joints | Ensure no gaps remain |
| 5 | Cure time | Let sealant fully dry before finishing |
Master these waterproofing techniques for a tight, long-lasting seal.
Install the Sauna Door and Windows
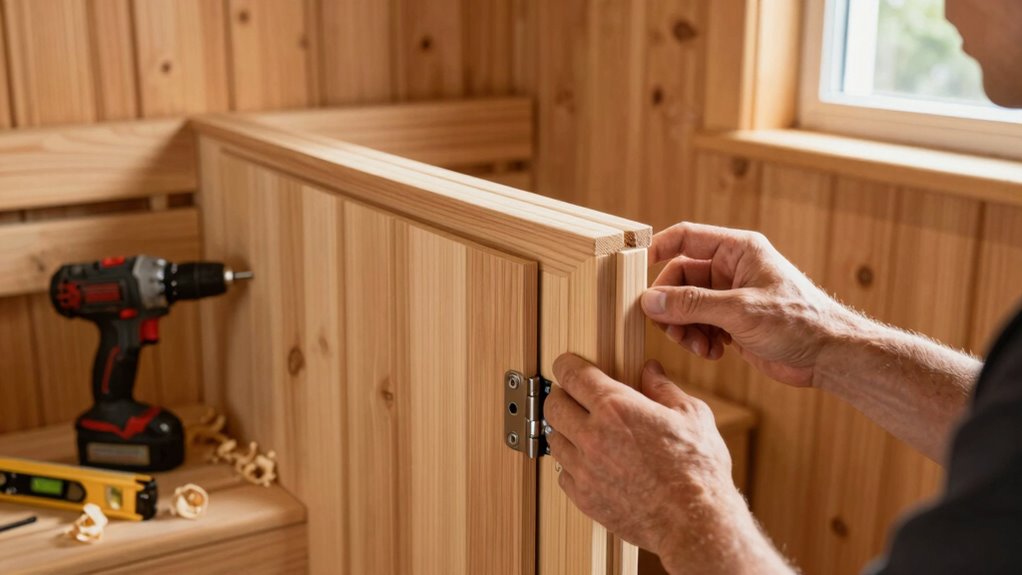
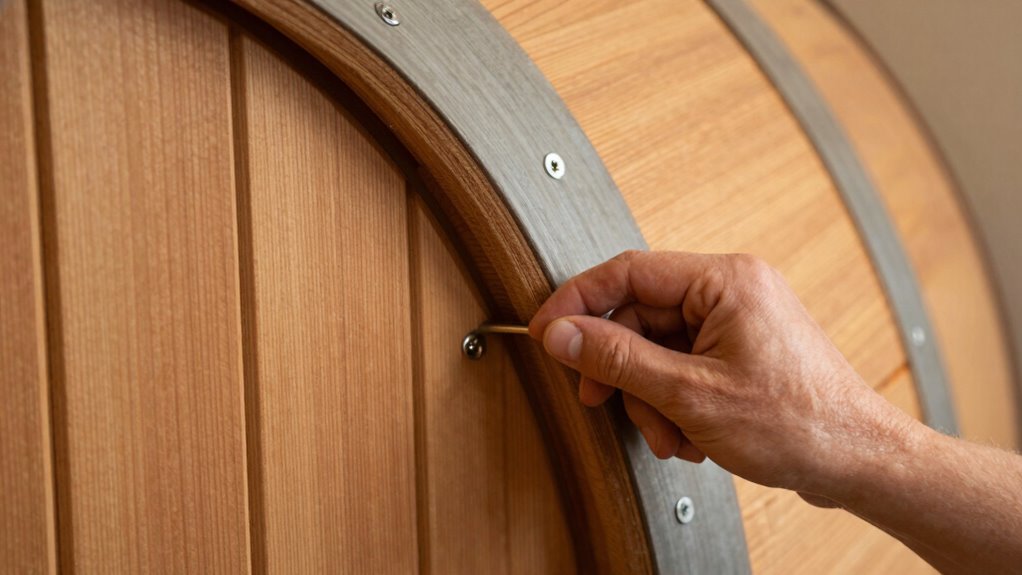
Have you considered the importance of proper installation when fitting your sauna door and windows? Correctly installing the sauna door ensures it seals tightly and functions smoothly. For window installation, proper fitment keeps heat inside and prevents drafts. To get it right, follow these steps:
Proper installation of sauna doors and windows ensures a tight seal and optimal heat retention.
- Place the sauna door in the opening, ensuring it lines up evenly on all sides.
- Secure the hinges, making sure the door swings freely without gaps.
- Fit the windows snugly into their frames, checking for a tight seal.
- Use weather-resistant sealant around the edges to prevent air leaks and moisture intrusion.
Wire Your Sauna Safely and Efficiently
When wiring your sauna, you need to follow proper techniques to guarantee everything functions safely and reliably. Make sure you adhere to safety precautions to prevent electrical hazards and damage. By paying close attention to these points, you’ll set up your sauna for long-lasting, trouble-free use.
Proper Wiring Techniques
To guarantee your sauna operates safely and reliably, it’s essential to follow proper wiring techniques. First, make sure you connect the electrical grounding properly to prevent shocks. Then, install a dedicated circuit breaker to protect against overloads. Visualize these steps:
- Run a heavy gauge wire from your main panel to the sauna, avoiding unnecessary bends.
- Connect the grounding wire to a grounding rod or grounding bus bar for safety.
- Install a circuit breaker rated for your sauna’s wattage to control power flow.
- Use waterproof connectors and secure all wiring to prevent moisture damage.
Safety Precautions To Follow
Guaranteeing safety while wiring your sauna is crucial to prevent electrical hazards and ensure reliable operation. Follow strict electrical safety practices, such as turning off power before starting and using proper insulation. Confirm all wiring complies with local codes and standards to reduce fire prevention risks. Use the correct gauge wires and secure connections tightly to prevent shorts or overheating. Avoid overloading circuits, which can cause overheating and potential fires. Keep all wiring away from water sources and moisture to reduce electrical shock risks. Regularly inspect connections for signs of wear or damage. Proper grounding is essential for safety and fire prevention. By prioritizing these safety precautions, you protect yourself and guarantee your sauna operates efficiently without electrical hazards.
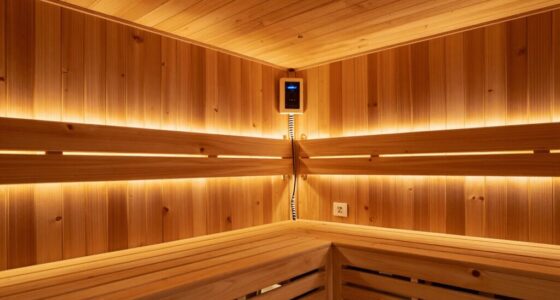
Finish the Interior With Paneling and Accessories
Once you’ve assembled the frame and installed the basic structure, it’s time to finish the interior with paneling and accessories. Start by choosing warm, durable wood for the paneling to enhance interior decor and create a cozy atmosphere. Consider adding lighting options like LED strips or warm bulbs to set the right mood and improve visibility. Visualize these steps:
- Install smooth, tongue-and-groove paneling along the walls for a seamless look.
- Attach comfortable seating with ergonomic design for relaxation.
- Incorporate moisture-resistant accessories like towel hooks and shelves.
- Add subtle lighting options that provide soft, even illumination, making the space inviting.
These touches transform your sauna into a functional, stylish retreat, ensuring comfort and ambiance.
Common Mistakes to Watch Out for During Assembly

As you assemble your barrel sauna, it’s easy to overlook common pitfalls that can compromise the structure or safety of your project. One mistake is neglecting proper alignment of the panels, which can cause gaps and affect insulation. Be careful with your exterior finishes; rushing this step may lead to uneven surfaces that trap moisture, damaging the wood over time. When adding decorative accents, make certain they don’t interfere with the sauna’s integrity or ventilation. Avoid tightening fasteners too much, as it can warp panels or crack the wood. Also, don’t forget to double-check the door and window placements—they should be level and secure. Staying attentive during assembly helps prevent these mistakes and ensures your sauna remains safe, durable, and visually appealing.
Test Your Sauna and Troubleshoot Issues
After completing the assembly, it’s time to test your sauna to guarantee everything functions properly. Start by turning on the heater and checking the temperature rise. Then, listen for unusual noises that could indicate wiring issues. Next, inspect the door seal to confirm it’s airtight, maintaining proper sauna maintenance. Finally, verify the lighting and ventilation work correctly, as these are essential for safety and cultural traditions. If you notice any problems, troubleshoot immediately—tighten loose wires, replace faulty components, or reseal doors. Proper testing prevents future issues and preserves the authentic experience rooted in cultural traditions. Remember, regular sauna maintenance and prompt troubleshooting keep your barrel sauna safe, efficient, and true to its purpose.
Frequently Asked Questions
How Can I Ensure My Sauna Is Energy-Efficient After Assembly?
To guarantee your sauna is energy-efficient after assembly, focus on insulation techniques like adding high-quality insulation to walls and ceilings to reduce heat loss. Use energy-saving features such as programmable thermostats and low-wattage lighting. Also, seal all gaps and joints properly to prevent drafts. Regular maintenance, like cleaning filters and checking seals, helps maintain efficiency. These steps keep your sauna warm while minimizing energy consumption.
What Safety Precautions Should I Take During Sauna Installation?
Installing your sauna is like walking a tightrope—you need focus and caution. Always wear safety gear, including gloves and goggles, to protect yourself. Handle electrical wiring carefully, guaranteeing power is off before working. Follow the manufacturer’s instructions and local codes strictly. Use insulated tools, and double-check connections. If unsure, consult a professional. Safety precautions like these keep you safe during installation and guarantee your sauna functions properly afterward.
Are There Specific Climate Considerations for Outdoor Barrel Sauna Assembly?
Yes, outdoor barrel sauna assembly requires climate adaptation to guarantee durability. You should consider the local climate when choosing materials and insulation, especially in extreme cold or heat. Protect the sauna from weather elements by installing proper outdoor protection like weather-resistant sealants, covers, or shelters. These steps help prevent damage from moisture, wind, or snow, making sure your sauna stays in great condition and lasts longer regardless of the climate.
How Do I Maintain My Sauna for Longevity and Performance?
To maintain your sauna’s longevity and performance, regularly treat the wood with suitable wood preservatives to prevent decay. Keep the interior clean and dry, and check the heating elements and benches for wear. Enhance the ambiance and functionality by updating the interior lighting as needed. Proper maintenance guarantees your sauna stays in top condition, providing a safe, relaxing experience for years to come while preserving its appearance and efficiency.
Can I Customize the Size or Shape of My Barrel Sauna?
Yes, you can customize the size or shape of your barrel sauna. When doing so, consider adding interior lighting to enhance ambiance and installing custom accessories to match your style. Work with your manufacturer to guarantee the design maintains structural integrity. Customization allows you to personalize your sauna, making it more functional and inviting. Just communicate your preferences clearly, and they can help you create a unique, tailored sauna experience.
Conclusion
Now that you’re ready to assemble your barrel sauna, imagine the satisfying moment when the last panel clicks into place, sealing your retreat from the world. As you power up the system, a warm glow begins to fill the space, inviting relaxation. But beware—hidden details and overlooked steps can turn your peaceful oasis into a frustrating project. Stay attentive, follow each tip, and soon, you’ll access a sanctuary of soothing steam and serenity.