
When installing electrical components like lights, controllers, and heaters, you should carefully plan by reviewing wiring diagrams and verifying your setup before starting. Always turn off the main power and use proper safety gear to prevent accidents. Connect wires securely, following manufacturer instructions and respecting ratings. After wiring, test your system to ensure everything works smoothly and safely. Following these steps closely will help you complete a dependable installation; keep going to learn more.
Key Takeaways
- Review and follow wiring diagrams carefully to ensure correct connections for lights, controllers, and heaters.
- Turn off the main power and verify disconnection before beginning installation to ensure safety.
- Secure all wiring connections with proper connectors, matching voltage ratings and grounding requirements.
- Test the components after wiring to confirm proper operation and responsiveness of lights, controllers, and heaters.
- Keep detailed documentation of wiring setups for troubleshooting and future maintenance.
Installing electrical components requires careful planning and precise execution to guarantee safety and proper functionality. Before you start, it’s essential to review wiring diagrams thoroughly. These diagrams serve as your blueprint, guiding you through each connection and ensuring that every wire is correctly placed. Ignoring wiring diagrams can lead to mistakes that might cause short circuits, equipment damage, or safety hazards. Take the time to study them carefully, verifying that they match your specific setup, and keep a copy accessible throughout the installation process.
Review wiring diagrams carefully to ensure safe, correct electrical component installation.
Safety precautions are non-negotiable when working with electrical components. Always turn off the main power supply before beginning any work, and double-check that power is fully disconnected by testing with a voltage tester. Wear appropriate personal protective equipment, such as insulated gloves and safety glasses, to protect yourself from accidental shocks or sparks. Keep your workspace clear of clutter and flammable materials, and ensure your tools are in good condition. If you’re unsure about any step, consult a professional or refer to the manufacturer’s instructions—never guess or take shortcuts. Remember, a small mistake can lead to serious injury or property damage.
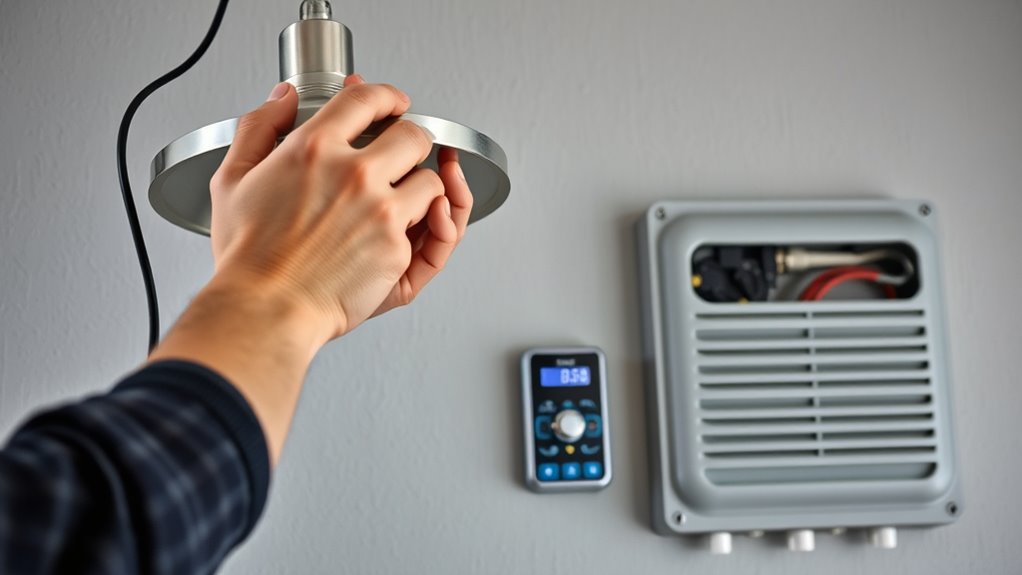
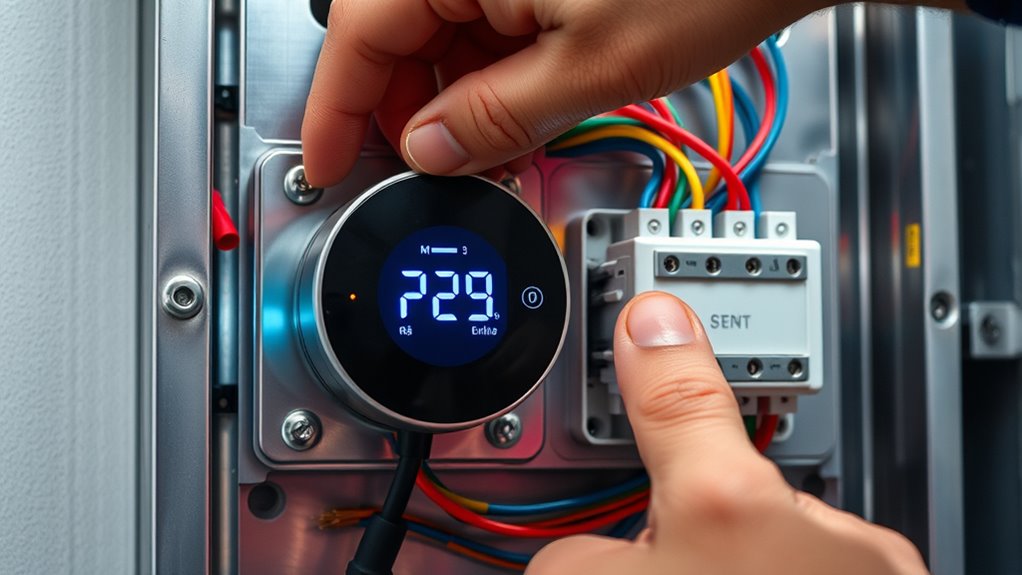
When installing lights, controllers, or heaters, pay close attention to the wiring connections indicated in your diagrams. Properly secure each wire using the correct connectors, and ensure that all terminals are tight to prevent loose connections that could cause arcing or overheating. For lighting fixtures, confirm that your wiring matches the voltage and wattage ratings specified, and install grounding wires where required to avoid electrical shocks. For controllers and heaters, follow the manufacturer’s guidelines precisely—incorrect wiring can result in malfunction, or worse, fire hazards.
Testing the system after installation is vital. Once all connections are made, turn the power back on cautiously and verify that everything operates correctly. Check that lights turn on smoothly, controllers respond properly, and heaters heat evenly without flickering or unusual sounds. If you notice any irregularities, power down immediately, and re-inspect your wiring diagrams and connections. Proper documentation of your wiring setup can also help troubleshoot future issues and ensure ongoing safety.
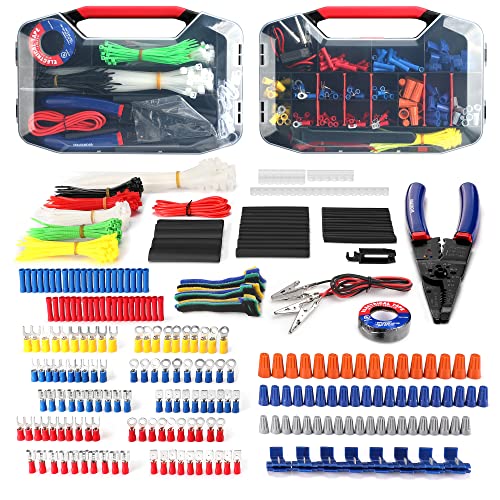
WORKPRO 582-piece Crimp Terminals, Wire Connectors, Heat Shrink Tube, Electrical Repair Kit with Wire Cutter Stripper
Assorted 582 electrical wire terminals and other accessories with transparent box for easy access
As an affiliate, we earn on qualifying purchases.
As an affiliate, we earn on qualifying purchases.
Frequently Asked Questions
What Safety Precautions Should I Take During Installation?
You should prioritize electrical safety by turning off power before starting installation. Always use proper grounding to prevent electrical shocks and guarantee safe operation. Wear insulated gloves and tools to protect yourself from accidental contact with live wires. Double-check connections for correctness and secure all components properly. Avoid working in wet or damp conditions, and follow manufacturer instructions carefully. Taking these precautions helps prevent accidents and ensures a safe, successful installation.
Can I Install These Components Myself or Hire a Professional?
You can choose to do DIY considerations if you’re confident with electrical work, but professional installation is often safer and guarantees compliance with codes. If you lack experience, hiring a professional is the best option. They have the expertise to install lights, controllers, and heaters correctly and safely. Remember, electrical work can be risky, so weigh your skills carefully before attempting a DIY approach.
What Tools Are Required for Electrical Component Installation?
Think of installing electrical components as assembling a puzzle—you need the right tools to fit everything perfectly. You’ll need wire strippers to prepare your wires, a screwdriver for securing connections, a voltage tester for circuit testing, and possibly pliers. A multimeter can also help you check voltage levels. Having these tools on hand guarantees you can work safely and accurately, making your installation smooth as butter.
How Do I Troubleshoot Common Installation Issues?
You should start troubleshooting by consulting wiring diagrams and troubleshooting guides for your specific setup. Check for loose or damaged connections, ensuring wires are properly secured. Use a multimeter to test for voltage and continuity. If issues persist, verify that controllers and switches are functioning correctly. By systematically following troubleshooting guides, you can identify faults quickly and fix common installation issues effectively.
Are There Specific Codes or Regulations to Follow?
You need to follow regional building codes and obtain electrical permits to guarantee your installation is safe and legal. Think of it like cooking—without the recipe, your dish might turn out wrong. These regulations guide proper wiring, grounding, and safety measures. Ignoring them risks fines or dangerous faults. So, check local requirements before starting. It’s a simple step that keeps your project compliant and your home secure.
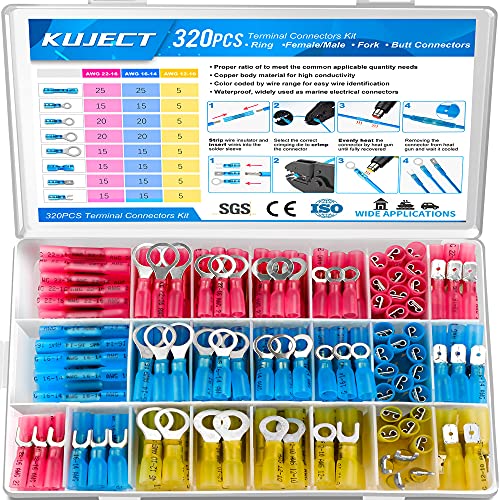
Kuject 320PCS Heat Shrink Wire Connectors Kit, Electrical Waterproof Crimp Butt Terminals, Insulated Spade Connectors for Automotive Marine Boat Truck, Include Rings Forks Spade Butt Splices
Multiple Choices: Proper ratio of various types to meet the commonly used types needs. This wiring terminals kit…
As an affiliate, we earn on qualifying purchases.
As an affiliate, we earn on qualifying purchases.
Conclusion
Now that you know how to install lights, controllers, and heaters, you’re ready to upgrade your space safely and efficiently. Did you know that proper electrical installation can reduce energy costs by up to 30%? Taking the time to do it right not only guarantees safety but also saves you money in the long run. So, follow these steps carefully, and enjoy the benefits of a well-powered, comfortable environment you’ve created yourself.

KAIWEETS Voltage Tester/Non-Contact Voltage Tester with Signal Percentage, Dual Range AC 12V/70V-1000V, Live/Null Wire Tester, Electrical Tester with LCD Display, Buzzer Alarm, Wire Breakpoint Finder
SAFETY FIRST: It will send out multiple alarms through sound and light. When the voltage is detected, the…
As an affiliate, we earn on qualifying purchases.
As an affiliate, we earn on qualifying purchases.
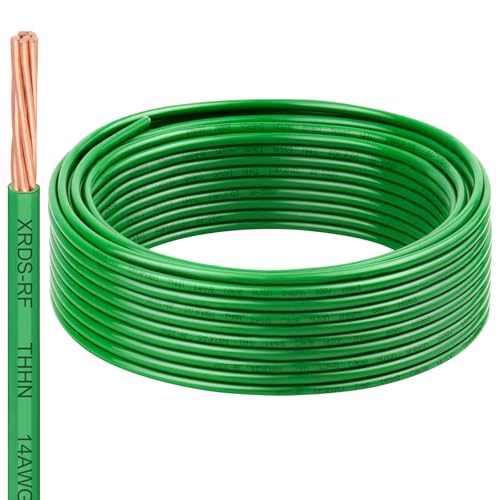
14 AWG THHN Stranded Bare Copper Wire 25FT Green Grounding Wire, Electrical Wire, 600V Rated Building Wire, Ideal for Panel Wiring, Grounding, Lighting Circuits, Control Systems
High-Quality Bare Copper Conductor – 14 AWG stranded wire with bare copper conductor for superior conductivity, ensuring optimal…
As an affiliate, we earn on qualifying purchases.
As an affiliate, we earn on qualifying purchases.