
Testing your water at home is key to ensuring it’s safe and clean. Start by choosing a testing kit suited for your water source that measures pH, bacteria, metals, and chemicals. Collect a clean, mid-stream sample following instructions carefully. Perform basic tests to check for pH, chlorine, and hardness, then interpret the results using the provided charts. If issues arise or results seem concerning, consider professional analysis. Keep learning more to keep your water safe and healthy.
Key Takeaways
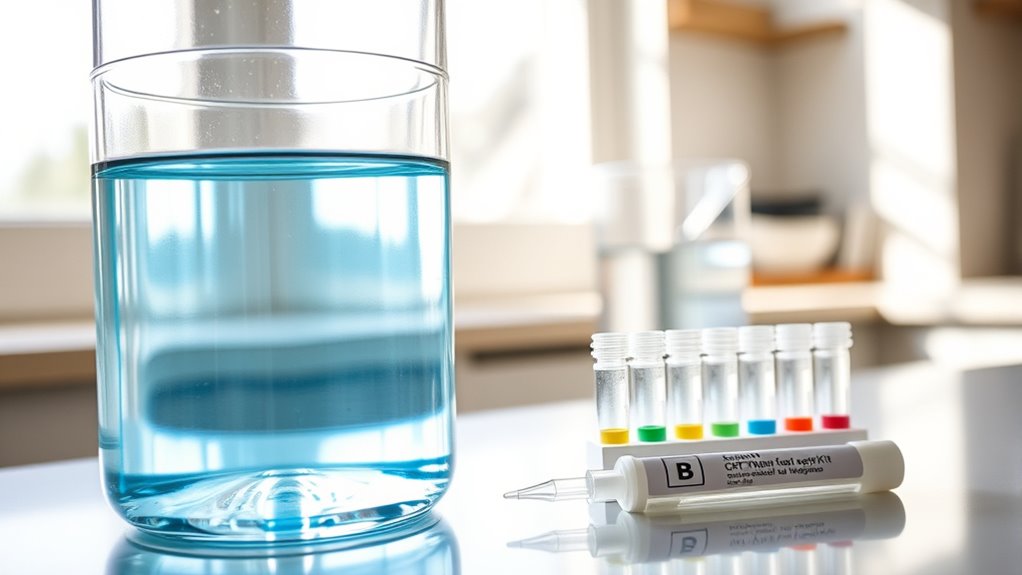
- Choose simple, reliable home testing kits for parameters like pH, bacteria, nitrates, and metals, ensuring compatibility with your water source.
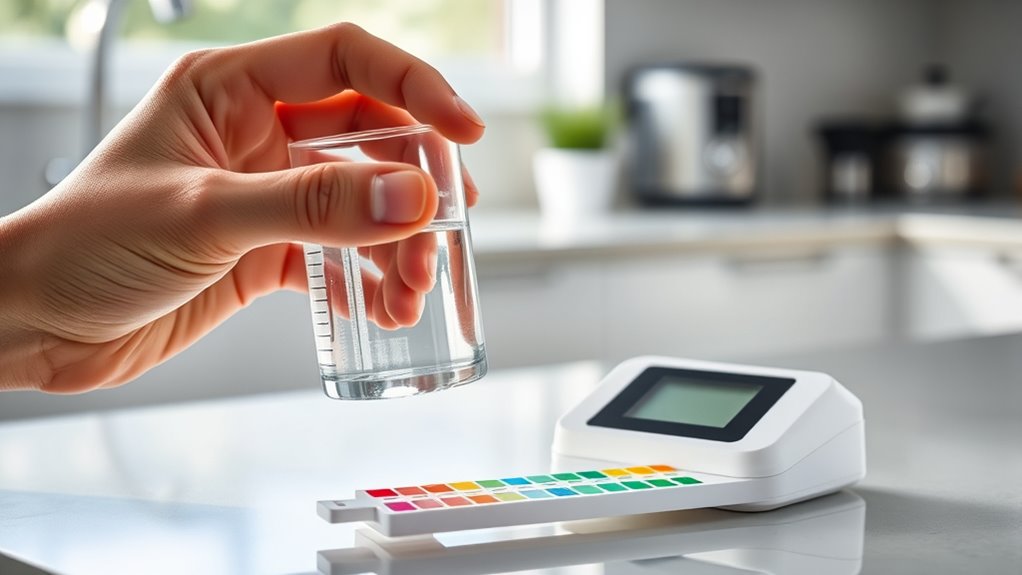
- Collect water samples from a fresh, running tap using sterile containers, avoiding contamination for accurate results.
- Use test strips, liquid kits, or digital meters to measure key indicators like chlorine, pH, and hardness, following clear instructions.
- Interpret results against safe range guidelines, and look for signs like odor or discoloration to assess water safety.
- Seek professional analysis if home tests show contamination, or if water issues persist despite basic testing.

Safe Home® DIY Bacteria in Water Test Kit – Results as Fast as 6 Hours – Detects 50 Different Species of Coliform Bacteria – EPA Lab Certified – Made in the USA – (1 Pack)
THE ORGINAL DIY BACTERIA TEST KIT that is certified accurate by Good Housekeeping Labs, American Red Cross, Underwriter…
As an affiliate, we earn on qualifying purchases.
As an affiliate, we earn on qualifying purchases.
Understanding Why Water Testing Matters

Understanding why water testing matters is essential because contaminated water can pose serious health risks. When you test your water regularly, you can identify issues early and take steps to protect your family. Proper testing also supports water conservation efforts by showing how efficiently your water sources are being used. Many municipal regulations require homeowners to ensure their water meets safety standards, preventing contamination and safeguarding public health. By staying informed about your water quality, you help prevent health problems caused by pollutants like bacteria, heavy metals, or chemicals. Testing your water isn’t just about compliance; it’s about taking proactive control over your water’s safety and quality. Regular water testing also helps detect contaminants early, allowing for timely remediation and peace of mind. Ultimately, regular testing empowers you to make smarter decisions and safeguard your home’s water supply.
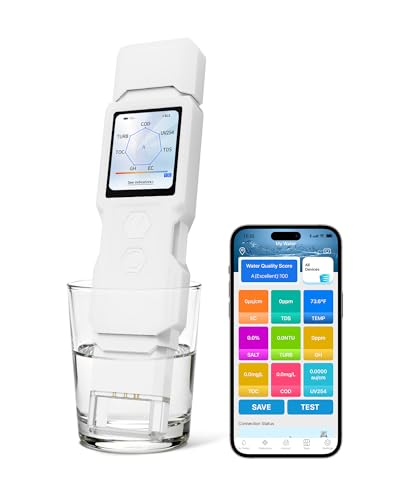
9-in-1 Smart Water Tester with APP Monitoring, Digital Water Test Kit for Turbidity, TDS, EC, Temp, Salt, GH, TOC, COD & UV275, Professional Water Tester for Drinking Water, Well, Tap & Outdoor.
LKBird Exclusive 9-in-1 Water Tester: All-in-One Detection for Turbidity, Hardness, pH, TDS, EC, Salinity, TOC, COD & UV…
As an affiliate, we earn on qualifying purchases.
As an affiliate, we earn on qualifying purchases.
Recognizing Common Water Contaminants
Have you ever wondered what harmful substances might be lurking in your water? Recognizing common water contaminants helps you stay safe. Lead contamination is a serious concern, especially in older pipes, and can cause health issues over time. Microbial presence, such as bacteria and viruses, can lead to illnesses if not properly treated. Being aware of these issues is essential for your safety. Additionally, understanding lifestyle factors, such as water source and maintenance, can influence contamination risks.

Varify 17in1 Complete Drinking Water Test Kit – 100 Strips + 2 Bacteria Tester Kits – Well, Tap, Home, City Water Testing Strip for Lead, Alkaline, Chlorine, Hardness, Iron, Fluoride, Copper & More
17 IMPORTANT PARAMETERS: The Varify Premium Drinking Water Test Kit offers an unrivaled, complete analysis of your drinking…
As an affiliate, we earn on qualifying purchases.
As an affiliate, we earn on qualifying purchases.
Choosing the Right Home Testing Kit

How do you select the right home testing kit to guarantee your water is safe? First, consider what contaminants you need to detect; kits vary in scope. If you suspect pH imbalance, choose a kit that measures pH levels accurately, so you can perform pH adjustment if needed. Look for testing kits that include tests for bacteria, nitrates, and heavy metals if you want extensive results. Also, evaluate the filtration options compatible with your water source—some kits come with filters or suggest additional filtration methods to improve water quality. Confirm the kit is easy to use, provides clear instructions, and delivers reliable results. Matching your specific water concerns with the kit’s features will help you identify issues early and decide if further treatment or filtration is necessary. Additionally, considering filter replacement indicators can ensure the ongoing effectiveness of your filtration system.
Varify 17in1 Complete Drinking Water Test Kit – 100 Strips + 2 Bacteria Tester Kits – Well, Tap, Home, City Water Testing Strip for Lead, Alkaline, Chlorine, Hardness, Iron, Fluoride, Copper & More
17 IMPORTANT PARAMETERS: The Varify Premium Drinking Water Test Kit offers an unrivaled, complete analysis of your drinking…
As an affiliate, we earn on qualifying purchases.
As an affiliate, we earn on qualifying purchases.
Preparing Your Water Sample Correctly
To get accurate test results, start by using clean containers that haven’t been contaminated. Collect your water sample from a fresh, running source, avoiding any stagnant or previously used containers. Be sure to keep contaminants out to guarantee your sample truly reflects your water’s quality. Additionally, avoid using containers that have been exposed to external factors like dirt or chemicals, which could skew your testing outcomes.
Use Clean Containers
Using a clean container is essential to guarantee accurate water testing results. A dirty or contaminated container can introduce bacteria or residues that skew your readings, compromising water safety. Always sterilize your container before collecting samples to prevent cross-contamination. Incorporating consistent messaging in your preparation process can help reinforce proper techniques and ensure reliable results. Here are some tips:
- Rinse the container with tap water first, then with boiling water or sterilizing solution.
- Avoid touching the inside of the container or lid to keep it sterile.
- Use a container specifically designated for water testing to prevent residual contamination.
Collect From Fresh Source
Did you know that collecting water from a fresh source is essential for accurate testing results? When taking a sample, choose a clean, moving part of the water, like a stream or spring, rather than still or stagnant spots. Avoid areas with obvious contamination or debris. Before collecting, make sure your container is rinsed but not pre-washed with soap, to prevent introducing contaminants. If needed, use basic water filtration, like a cloth or coffee filter, to remove debris. This helps ensure your sample accurately reflects the water’s quality. Remember, DIY testing relies on a true representation of the source, so proper collection is critical. Using a high contrast ratio in your testing setup can help improve the visibility of test results, making them easier to interpret and more reliable. Taking these simple steps ensures your test results are reliable and meaningful for assessing water safety at home.
Avoid Contaminants
Contaminants can easily skew your water test results, so it’s crucial to prepare your sample carefully. Avoid introducing new pollutants that can interfere with accurate readings of pesticide contamination or heavy metal risks. To guarantee a proper sample:
- Rinse your container thoroughly with the water you plan to test, avoiding soap or cleaning agents.
- Collect the sample mid-stream to prevent surface contaminants from affecting results.
- Keep the sample away from sources of pollution, like nearby chemicals or runoff, until testing.
- Proper sample handling and timing are essential for accurate testing and reliable results.
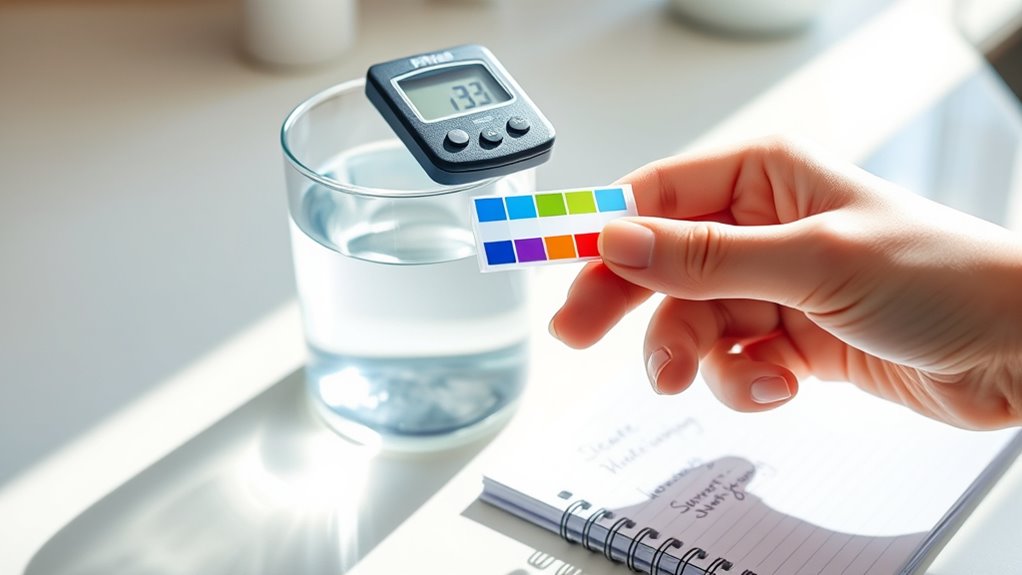
Performing Basic Tests for Ph, Chlorine, and Hardness

Now, you’ll test your water’s pH to see if it’s too acidic or alkaline. Next, check for chlorine levels to make certain your water is safe and tastes right. Finally, assess the hardness to determine if mineral buildup could be a concern for your plumbing and appliances. Understanding the impact of water quality testing can help you better interpret your results and take appropriate actions.
Testing Ph Levels
Testing pH levels is a straightforward way to assess your water quality at home. Knowing the acidity or alkalinity helps guarantee safe, balanced water for your household. To test, simply use pH test strips or a digital meter, following the instructions carefully. This quick test gives you insight into pH buffering capacity and acidity levels, which are vital for plumbing and appliances. Utilizing reliable testing tools ensures accurate readings and better water management. Remember:
- Proper pH buffering keeps water stable, preventing sudden swings in acidity.
- Slightly acidic water (below 7) can corrode pipes, while alkaline (above 7) may cause scaling.
- Regular testing helps you catch issues early, maintaining safe and healthy water conditions. Keeping an eye on pH levels empowers you to manage water quality effectively at home.
Measuring Chlorine Presence
Measuring chlorine presence in your water is essential for ensuring its safety and taste. Proper chlorine detection confirms whether your water has been effectively purified or if additional treatment is needed. Using simple test kits or strips, you can quickly assess chlorine levels at home. These tests help you maintain water quality and prevent health issues caused by over or under-chlorination. Keep in mind, consistent testing guarantees your water remains safe and clear of contaminants. Here’s a quick reference:
| Test Method | Chlorine Level Range | Recommended Action |
|---|---|---|
| Test Strips | 0-10 ppm | Adjust purification if needed |
| Liquid Test Kits | 0-5 ppm | Confirm with other methods |
| Digital Meters | Precise measurement | For detailed water analysis |
| Visual Clarity | Clear water | Usually indicates safe levels |
| Odor Test | Detectable chlorine smell | Excess chlorine present |
Regular testing supports effective water purification.
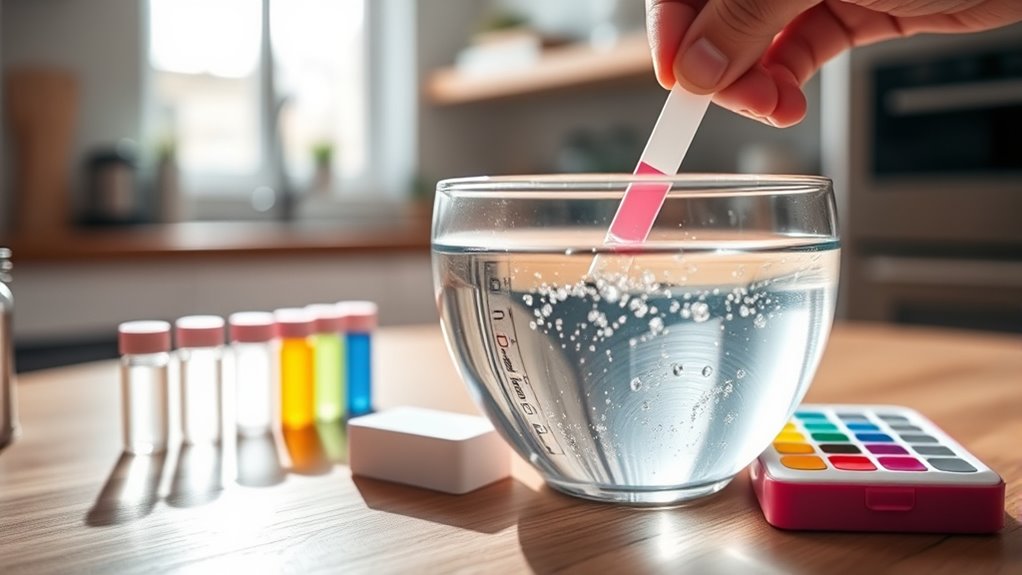
Assessing Water Hardness
Evaluating water hardness is a straightforward process that helps you determine the levels of dissolved minerals like calcium and magnesium. High mineral content can lead to water spots, soap scum, and scale buildup, affecting your appliances and plumbing. To test hardness, you can use simple test strips or kits available at stores. These tests often involve dipping a strip into water and comparing the color change to a chart. If your water is hard, you might consider water softening options to reduce mineral levels. Regular testing helps you stay aware of your water quality and prevent issues before they escalate. Remember, maintaining balanced mineral content guarantees your water remains safe and your appliances function efficiently. Additionally, understanding your water’s tuning can help optimize its quality and performance for household use.
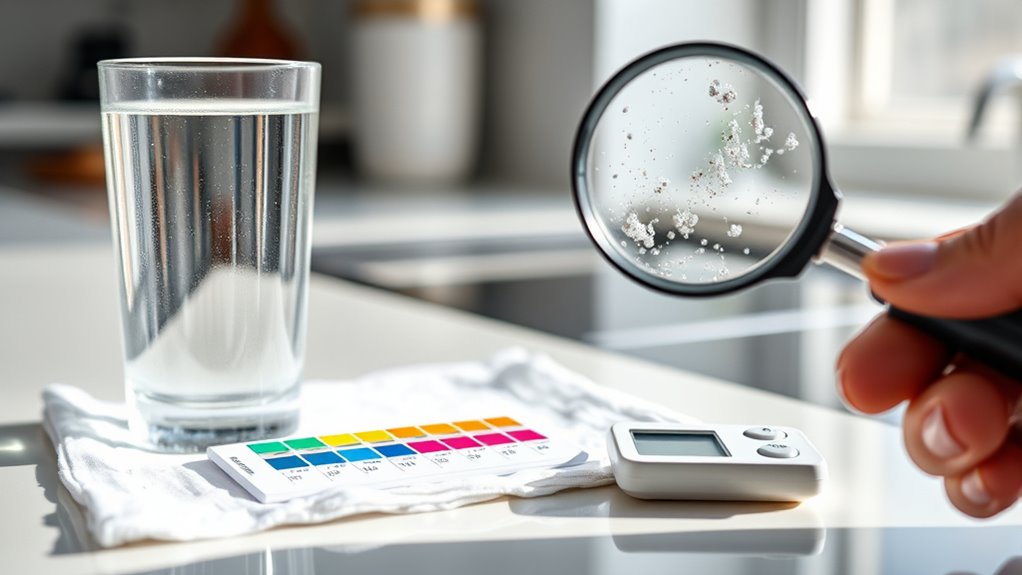
Interpreting Your Test Results
After you receive your water test results, it’s important to understand what they mean for your household’s safety. Pay attention to pH fluctuations, as sudden changes can affect water taste, corrosion rates, and even plumbing integrity. If your pH is too low, your water may be acidic; too high, and it could be alkaline, both posing potential risks. Also, review chlorine impact levels; excessive chlorine can cause taste and odor issues, while too little may leave bacteria unchecked. Use the test kit’s reference ranges to determine if your results fall within safe limits. If your levels are outside these ranges, consider whether you need treatment or further testing. Remember, accurate interpretation helps you make informed decisions to keep your water safe and healthy.
When to Seek Professional Water Analysis
While home testing provides valuable insights, there are times when professional water analysis becomes essential. If you notice persistent issues like strange odors, discoloration, or taste, it’s time to seek expert help. Well water risks can be higher if you rely solely on home tests, especially for bacteria, nitrates, or heavy metals. Municipal testing is reliable but may not catch private well problems. Consider professional evaluation if:
- Your home tests show contaminants or inconsistent results
- You have a private well with unexplained issues or after repairs
- You’re planning to install new plumbing or a well system
Professional testing offers extensive results, ensuring your water is safe and compliant with health standards. When in doubt, consulting experts helps protect your health and peace of mind.
Simple Steps to Improve Water Quality at Home

Improving your water quality at home can often be achieved through simple, practical steps. Start by installing a reliable water filtration system to remove contaminants and improve taste. Regularly replace filters to guarantee optimal performance. If concerns about tap water persist, consider switching to bottled water for drinking and cooking, especially if your local supply has known issues. Keep your plumbing well-maintained to prevent buildup and bacteria growth. Using water filtration alongside bottled water can markedly enhance water quality without expensive or complex solutions. Additionally, test your water periodically to monitor improvements and identify ongoing issues. These straightforward measures help ensure your water is safer, cleaner, and more enjoyable for everyday use.
Frequently Asked Questions
How Often Should I Test My Home Water Supply?
You should test your home water supply at least once a year, but consider increasing Water testing frequency if you notice seasonal fluctuations or changes in taste, smell, or appearance. Testing more often helps catch potential contaminants early. If your water source is well, testing every six months is ideal. Regular testing guarantees your water remains safe, especially during seasonal or environmental changes that can affect water quality.
Are There Any Safety Concerns Using Water Testing Kits at Home?
Using water testing kits at home is generally safe if you follow instructions carefully. Be mindful of chemical safety, avoiding direct contact with reagents and wearing gloves if needed. After testing, dispose of the kit components according to local regulations, ensuring proper kit disposal. Keep the testing area well-ventilated, and store chemicals out of children’s reach to prevent accidents. Always read the safety warnings included in your kit.
Can Water Quality Vary Between Different Taps in the Same House?
Tap variation can cause water inconsistency within your home. Different taps might deliver water with varying levels of minerals, contaminants, or pH. This means your water quality can fluctuate depending on which faucet you use. To stay safe, test water from multiple taps regularly, especially if you notice changes in taste, color, or smell. Consistent testing helps you catch contaminants early and guarantees your water remains safe and satisfying.
What Are the Costs Associated With Professional Water Testing?
Professional water testing costs can vary depending on the tests you need. You’ll typically pay laboratory fees, which can range from $50 to $300 per test, depending on complexity. Testing kit prices are also a factor, usually between $20 and $100, offering a more affordable option for basic checks. Keep in mind, extensive testing might involve multiple tests, increasing overall costs.
How Long Do Home Water Test Results Typically Take?
Home water test results usually take a few minutes to a few days, depending on the testing kit you use. You can expect quicker results with DIY testing kits, but keep in mind that sample collection timing and testing kit accuracy are vital for reliable results. If you opt for lab testing, it may take several days, but you’ll get more detailed and precise data about your water quality.
Conclusion
By testing your water at home, you’re revealing a secret world of clarity and purity—imagine turning your tap water into crystal-clear, mountain spring freshness right from your kitchen. With just a few simple steps, you’ll detect lurking contaminants and banish them like a superhero saving your household from invisible villains. Don’t wait for water to turn into a toxic swamp—take control now and transform your home water into a pure, sparkling oasis that’s safe and invigorating every single day.