
To install tongue-and-groove panels in your sauna, start by selecting panels with matching wood grain for a seamless look. Fit the panels tightly and lock the tongue into the groove, using a tapping block if needed. Fasten each panel along the tongue side with nails spaced evenly, driving them at an angle. Check alignment regularly, set nail heads below the surface, and ensure a snug, even fit. Keep your focus on these details to craft a professional, long-lasting finish.
Key Takeaways
- Select panels with consistent grain and align them according to the wood flow for a seamless sauna look.
- Fit panels tightly, locking the tongue into the groove, and use a tapping block for a flush connection.
- Install nails or staples along the tongue side every 12-16 inches, driving at a slight angle for secure fastening.
- Ensure proper nail placement and use suitable fasteners to prevent splitting and maintain material integrity.
- Inspect the installation for proper fit, grain alignment, and nail set for a smooth, professional finish.

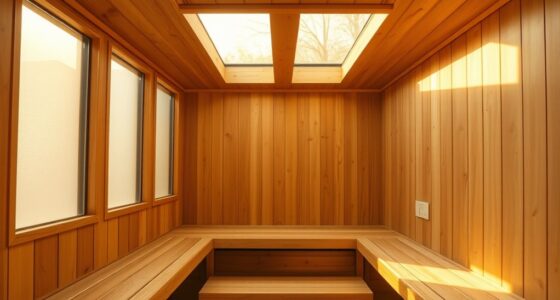
Have you ever wondered how to achieve a seamless, polished look for your walls or ceilings? Tongue-and-groove paneling is an excellent choice for creating a clean, professional finish, especially in spaces like saunas where the aesthetic and durability matter. When installing these panels, paying attention to details like the wood grain and nail pattern can make all the difference in the final appearance. Your goal is to guarantee the panels fit tightly together, with no gaps or uneven lines, so the interior feels cohesive and inviting.
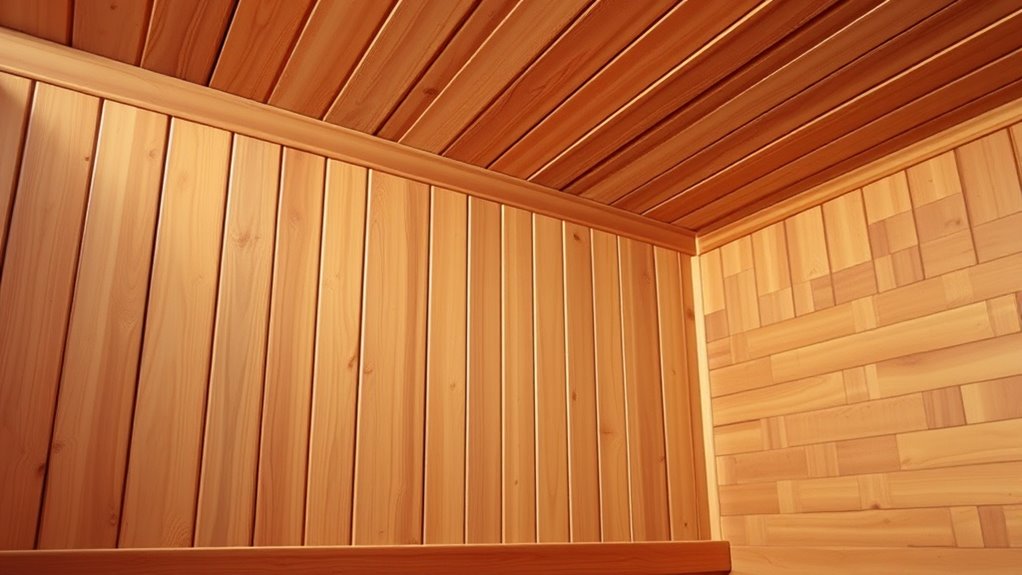
Start by selecting panels with a consistent wood grain pattern. This not only enhances the visual appeal but also ensures the panels age evenly, which is vital in high-humidity environments like saunas. When you handle the wood, check the grain direction; aligning the grain in the same direction across all panels helps maintain a uniform look. Before installation, lay out the panels to see how their wood grain patterns will flow together and choose the arrangement that looks best. This step is essential for achieving a natural, flowing appearance.
Choose panels with consistent wood grain for a uniform, durable sauna finish.
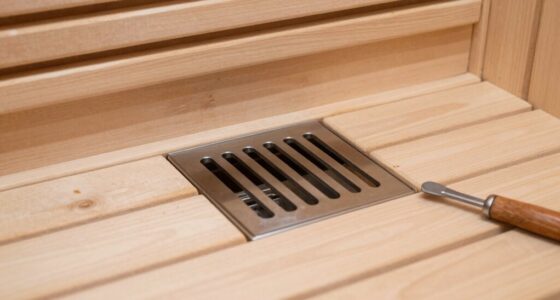
Next, focus on creating an effective nail pattern. Use nails or staples that are appropriate for the wood thickness and material. Typically, you’ll want to place fasteners along the tongue side, making sure they’re spaced evenly—about every 12 to 16 inches. Drive nails at a slight angle to secure the panel without splitting the wood, and avoid hammering too hard, which can cause dents or cracks. When attaching each panel, guarantee the nail heads are set just below the surface, but don’t countersink too deeply, as this can cause splitting or make finishing difficult later. Consistent, well-placed nails not only hold the panels securely but also create an even nail pattern that contributes to the overall neatness of your installation. Proper nail placement and material compatibility are crucial for a durable and attractive finish.
As you work across the space, continuously check that each panel fits snugly into the previous one, locking the tongue into the groove tightly. If needed, use a puller or tapping block to gently tap panels into place, maintaining a tight fit. Keep an eye on the wood grain alignment as you go, adjusting the panels slightly if the pattern needs fine-tuning. When you finish installing the panels, the uniform nail pattern and matching wood grain will give your sauna walls and ceiling a polished, professional look. By paying close attention to these details, you’ll guarantee that your tongue-and-groove paneling not only looks fantastic but also withstands the test of time and humidity.
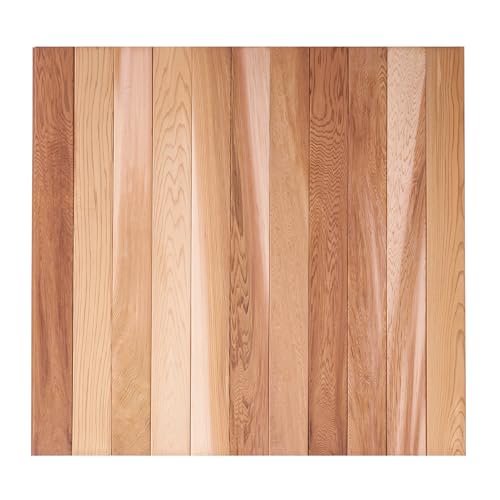
bingaai Cedar Tongue and Groove Wall Panels – ½" Thick (12mm) Western Red Cedar Wood Planks for Walls, Sauna, Accent Wall & DIY Projects | 3 ft Long | Covers 9.7 sq ft
½" SOLID CEDAR — 50% THICKER THAN STANDARD WALL PLANKS: At 12mm (nearly ½ inch), these panels are…
As an affiliate, we earn on qualifying purchases.
As an affiliate, we earn on qualifying purchases.
Frequently Asked Questions
What Tools Are Essential for Installing Tongue-And-Groove Paneling?
You’ll need a few essential tools for installing tongue-and-groove paneling. A power drill is crucial for securing panels, while a saw—like a circular or miter saw—helps with precise cuts. A level ensures proper paneling alignment, and a measuring tape guarantees accurate measurements. Clamps can hold panels steady during installation. These tools make the process smoother, helping you achieve a professional finish with proper paneling alignment and clean cuts.
How Do I Prepare the Sauna Walls Before Paneling?
Start by cleaning the walls thoroughly to remove dust and debris. Then, install a moisture barrier to protect against humidity. Next, sand the surface smoothly to ensure a good bond for the paneling. Make sure the wall is dry and even before you begin installing the tongue-and-groove panels. Proper preparation helps prevent warping and guarantees your sauna walls look great and last longer.
Can Tongue-And-Groove Paneling Be Installed Over Existing Surfaces?
It’s often best to contemplate paneling removal before installing tongue-and-groove paneling over existing surfaces, as surface adhesion can be improved, guaranteeing a secure fit. While you can install over smooth, clean surfaces, uneven or old materials may hinder proper adhesion and could lead to issues later. Taking the time to prepare your sauna walls properly helps ensure your new paneling stays in place and looks great.
How Do I Maintain and Clean Sauna Paneling?
You should regularly wipe down your sauna paneling with a damp cloth to remove sweat and dirt. Use mild, non-abrasive cleaning routines and avoid harsh chemicals that can damage the wood. Keep the area well-ventilated after use to prevent mold. Maintenance tips include applying a protective sealant every few years and inspecting for any signs of damage. This keeps your sauna looking great and functioning safely.
What Safety Precautions Should I Consider During Installation?
You’re walking a tightrope, so prioritize safety during installation. Always wear protective gear, and guarantee proper ventilation to avoid inhaling dust or fumes. Keep fire safety in mind by having a fire extinguisher nearby and avoiding open flames near combustible materials. Use tools carefully to prevent injuries, and double-check electrical connections. Staying alert and cautious helps you avoid mishaps, making the process smooth and safe from start to finish.

Upick Wall Panels Board and Batten Kit, Paintable PS Wainscoting Paneling for Accent Wall 120" x 43"
Board and Batten Layout: Create classic board and batten wall panels with structured rectangular sections, eliminating the need…
As an affiliate, we earn on qualifying purchases.
As an affiliate, we earn on qualifying purchases.
Conclusion
Now that you know the basics of tongue-and-groove paneling, you’re ready to confidently create a cozy, enchanting sauna. With careful cutting, clever fitting, and consistent caulking, your space will soon shine with seamless style and superb sturdiness. So, stay patient, proceed precisely, and enjoy the process. Before long, you’ll proudly present a pristine, polished sauna—proof that proper paneling produces perfect, peaceful relaxation. Happy hanging, honing, and heating!
bingaai Cedar Tongue and Groove Wall Panels – ½" Thick (12mm) Western Red Cedar Wood Planks for Walls, Sauna, Accent Wall & DIY Projects | 3 ft Long | Covers 9.7 sq ft
½" SOLID CEDAR — 50% THICKER THAN STANDARD WALL PLANKS: At 12mm (nearly ½ inch), these panels are…
As an affiliate, we earn on qualifying purchases.
As an affiliate, we earn on qualifying purchases.

Hillman Panel Nail White Ringed Shank Flush Flat Head Interior Paneling #15 x 1-5/8" White – 6 oz.
DESIGNED FOR PANEL BOARD FASTENING: White panel nails attach panel board to wood studs or furring strips with…
As an affiliate, we earn on qualifying purchases.
As an affiliate, we earn on qualifying purchases.