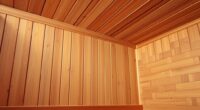
To protect your sauna walls, start by selecting a durable, moisture-resistant vapor barrier like foil-backed insulation or vapor-retardant film. Carefully install it, sealing all edges and penetrations with compatible tape or sealant to prevent moisture leaks. Proper ventilation with intake vents near the floor and exhaust vents near the ceiling helps control humidity. Combining these steps creates a balanced system that keeps your walls dry and lasts longer. Keep exploring to learn more about effective installation techniques.
Key Takeaways
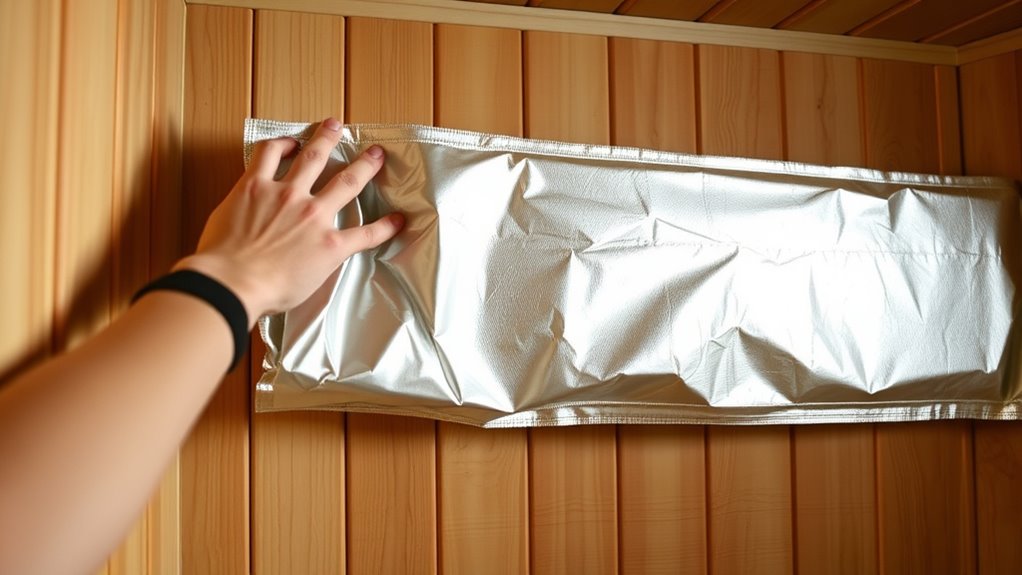
- Choose durable, vapor-retardant materials like foil-backed insulation or vapor barrier films suitable for high temperatures.
- Seal all edges and penetrations tightly with compatible tape or sealant to prevent moisture bypass.
- Install the vapor barrier smoothly against walls, ensuring proper coverage and avoiding wrinkles or gaps.
- Incorporate ventilation vents near the floor and ceiling to promote airflow and moisture removal.
- Regularly inspect and maintain the vapor barrier and ventilation system for optimal long-term protection.
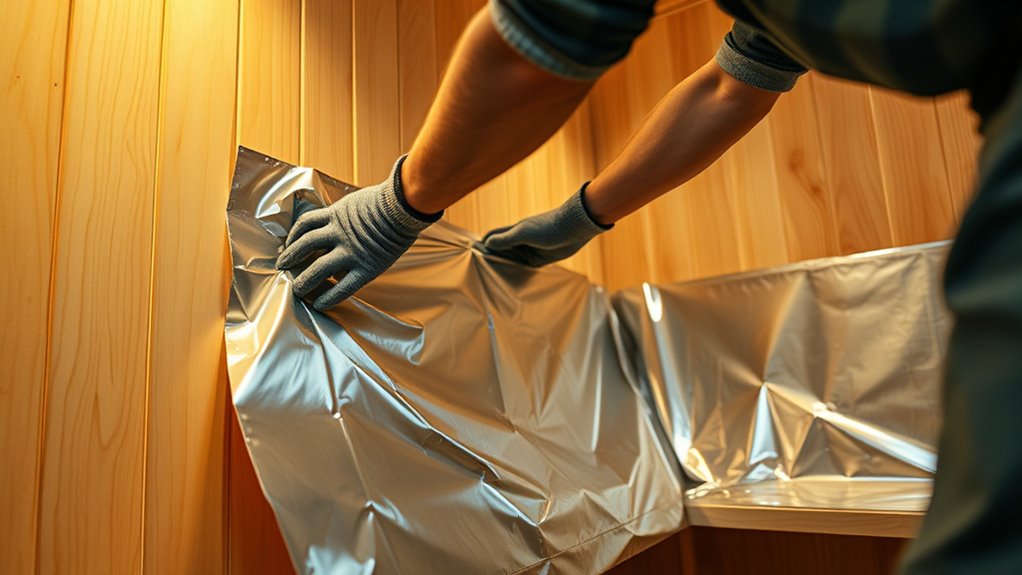
Installing a vapor barrier is vital to safeguard your sauna walls from moisture damage and guarantee its longevity. When you set out to install one, it’s essential to pay close attention to ventilation techniques and material selection. Proper ventilation ensures that excess humidity doesn’t linger inside your sauna, preventing mold, wood rot, and structural deterioration. You should consider installing vents or exhaust fans that promote airflow, especially during and after sauna use. Good ventilation helps keep moisture levels in check, making your vapor barrier more effective over time. Additionally, selecting the appropriate keto diet app can assist in maintaining overall health while undertaking home improvement projects. Material selection plays a pivotal role in the success of your vapor barrier. You want a material that’s durable, resistant to high temperatures, and capable of blocking moisture effectively. Standard choices include foil-backed insulation or specialized vapor-retardant films designed for humid environments. These materials are lightweight, easy to install, and provide an effective moisture barrier when properly applied. Avoid using materials that can degrade or trap moisture, as they defeat the purpose of the barrier and could accelerate damage to your walls. When choosing materials, consider ones that are vapor-permeable but still provide a strong barrier against water vapor. This balance helps prevent moisture from seeping into the wall cavity while allowing any trapped humidity to escape through ventilation. As you select your vapor barrier, check for compatibility with your wall structure and ensure it meets local building codes. Remember, even the best materials won’t perform well if they’re not installed correctly, so follow manufacturer instructions meticulously. In terms of ventilation techniques, you should think about positioning your vents thoughtfully. Place intake vents near the floor to allow fresh air to circulate upward, and exhaust vents near the ceiling to expel warm, moist air. This setup creates a natural airflow that reduces humidity buildup. During installation, make sure your vapor barrier is sealed tightly around edges and penetrations, such as around light fixtures or vents, to prevent moisture from bypassing the barrier. Use appropriate tapes or sealants compatible with your chosen material to ensure a tight seal. Ultimately, your goal is to create a balanced system where the vapor barrier works seamlessly with proper ventilation techniques. By selecting the right materials and installing them correctly, you prevent moisture from damaging your sauna walls, preserving their appearance and structural integrity for years to come. Keep in mind that regular maintenance and inspecting your vapor barrier and ventilation system will help you catch any issues early, ensuring your sauna remains a safe and enjoyable space.
Frequently Asked Questions
How Thick Should the Vapor Barrier Be for Sauna Walls?
For sauna wall protection, a vapor barrier should be at least 6 mils thick. During vapor barrier installation, make certain it’s durable enough to resist moisture and prevent vapor from penetrating the walls. This thickness balances flexibility and protection, blocking humidity effectively. Use quality materials for maximum sauna wall protection, and make sure to properly seal all edges and seams to maintain the vapor barrier’s integrity and keep your sauna dry and safe.
Can I Reuse the Vapor Barrier Material From Another Project?
You can reuse the vapor barrier material from another project if it’s still intact and undamaged, but consider its durability. Reusing materials saves money and reduces waste, but verify the vapor barrier hasn’t been compromised by moisture or tears. Keep in mind that older or reused vapor barriers may have reduced effectiveness, so inspect carefully before installation to maintain proper protection for your sauna walls.
What Are the Signs of a Failing Vapor Barrier?
You might notice signs of a failing vapor barrier when moisture accumulation appears on your walls or ceiling, hinting it’s losing effectiveness. Keep an eye on vapor permeability; if it has increased, the barrier’s integrity is compromised. Warping, peeling, or mold growth also signal that moisture is seeping through, risking damage. Don’t ignore these signs—address them promptly to preserve your sauna’s structure and ensure a dry, cozy environment.
Is It Necessary to Seal Edges and Seams?
Yes, sealing edges and seams is vital for your vapor barrier. You should perform edge sealing around corners and where panels meet, ensuring no gaps allow moisture to escape. Seam sealing is essential along joints to prevent water vapor from penetrating. Use appropriate tape or sealant designed for vapor barriers, and make sure every seam and edge is thoroughly sealed to maintain a moisture-tight environment and protect your sauna walls effectively.
How Often Should I Inspect the Vapor Barrier for Damage?
You should inspect your vapor barrier at least once a year to catch any damage early. Regular inspections help maintain proper ventilation and moisture control, preventing mold and wood deterioration. Look for tears, holes, or signs of moisture behind the barrier. If you notice any issues, repair or replace the vapor barrier promptly. Consistent maintenance guarantees your sauna stays dry, safe, and enjoyable for years to come.
Conclusion
So, after all that effort to shield your sauna walls with a vapor barrier, you might find yourself laughing at the irony—thinking it’s just a simple upgrade, yet it’s the key to lasting warmth and durability. Sometimes, the smallest details make the biggest difference, proving that a little moisture protection can save you from costly repairs later. Who would’ve thought that sealing the walls would be the secret to enjoying your sauna worry-free?